I have a deep love for books. So when I decided to make something for a baby in the family, I knew it had to be something book related. I did some research and decided to make a cloth book, but I couldn't find any instructions that were entailing exactly what I wanted to make. So, here I am making my own cloth book and sharing the instructions with you!
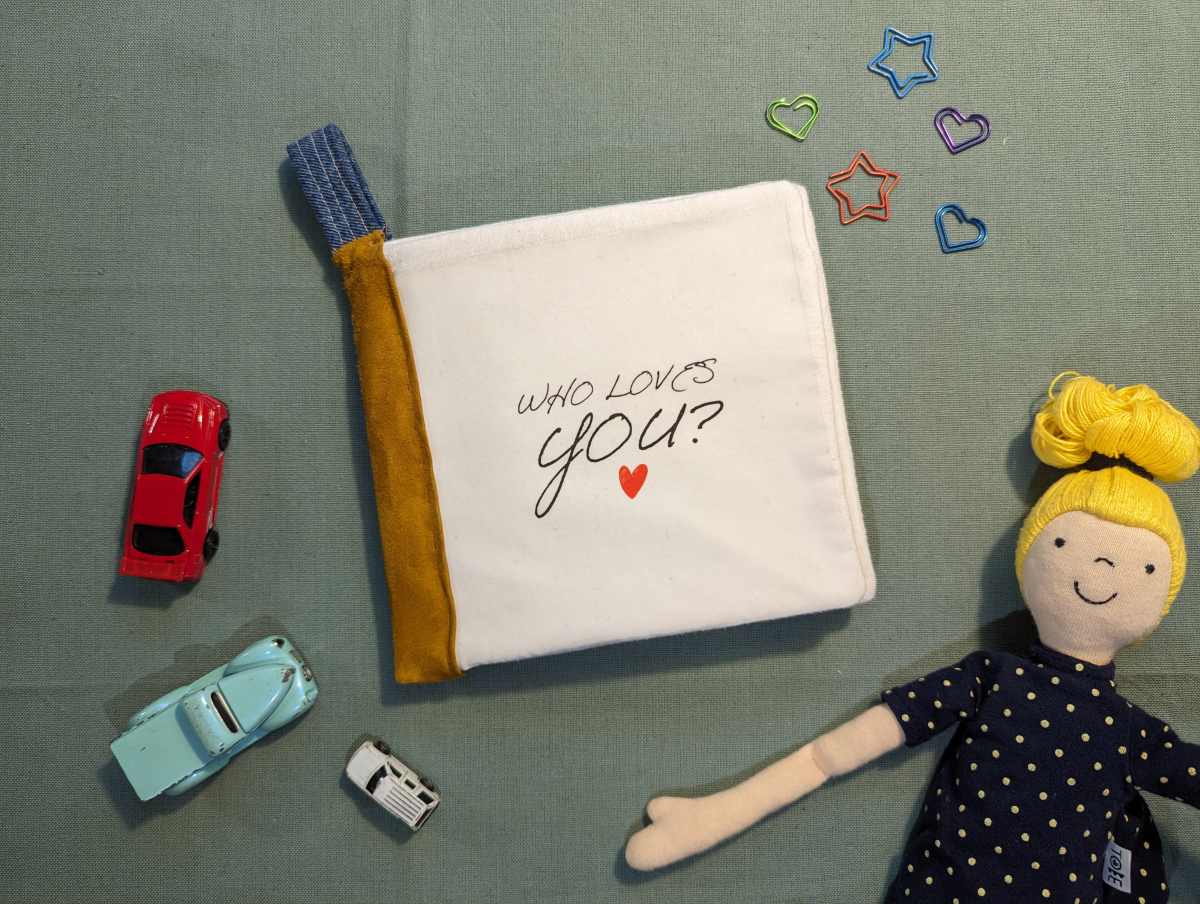
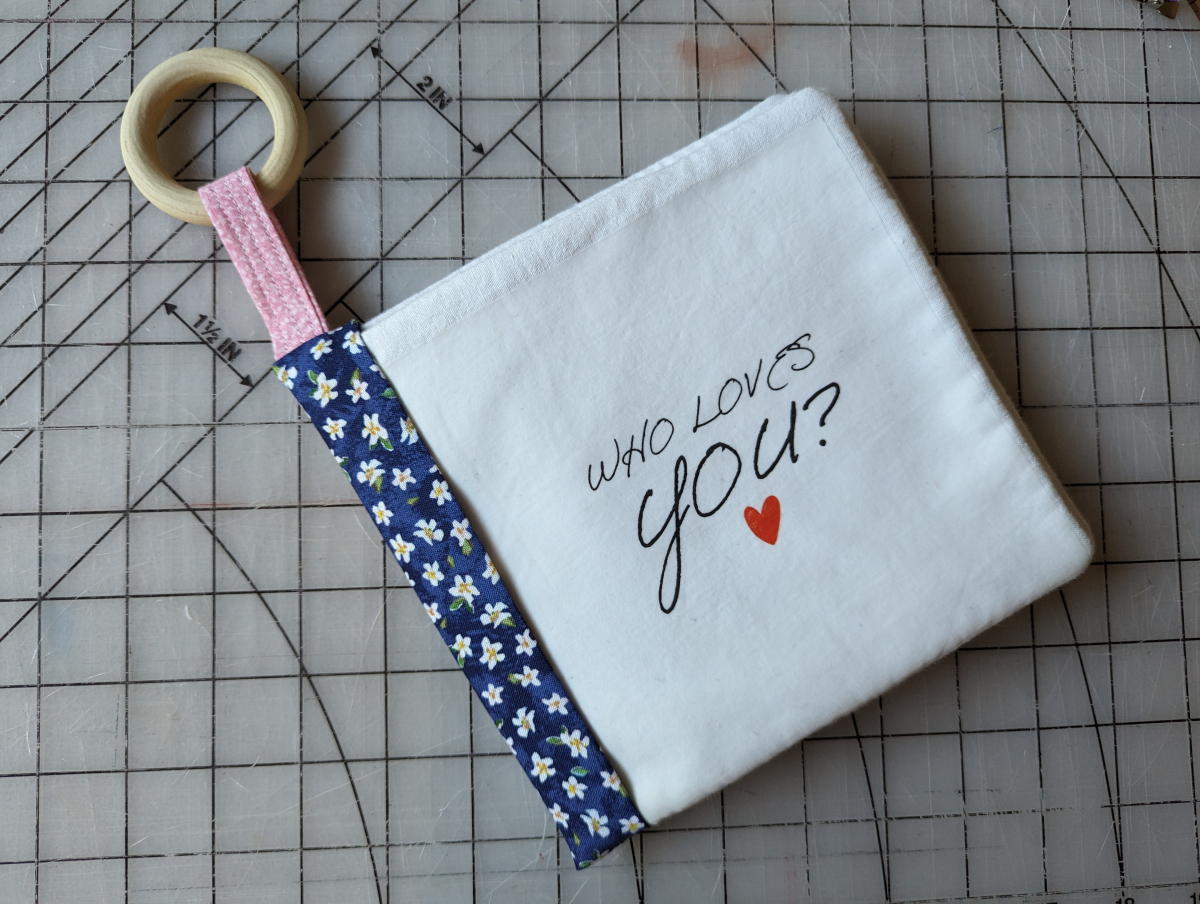
I designed my book using the free version of Adobe Express and my own photos. The title of the book was “Who Loves You?” I used photos of our family and wrote simple words that could easily be translated since the parents speak many languages.
A typical soft book is approximately 4 pages. So I used a total of 5 photos and had one page with just words plus the cover which equals 4 double sided pages. I wanted this book to be interesting to the baby even when not being read. So I used colored photos and interesting fabrics whenever possible.
Let’s get started!
First, gather your supplies. You will need:
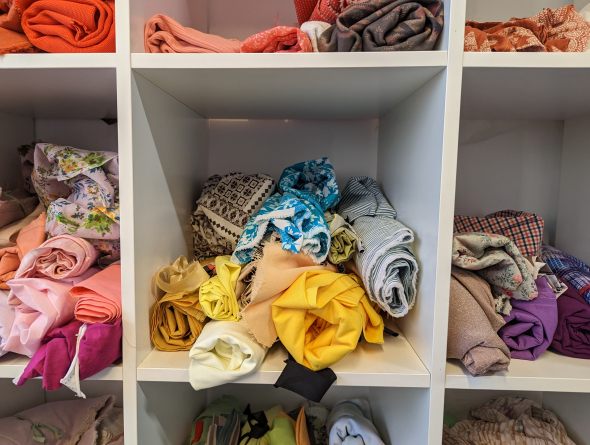
- Fabric for the pages: a white fabric worked well for my whole book, but if you wanted, you could do every page a different color
- Fabric for your binding: I like to use a bright, fun colored fabric. This one is simalar to the one I used. (Just a diffrent color.)
- Contrasting fabric scraps for the loop and any accents you may want to add
- Felt to add some structure to your pages: I recommend felt because batting can shift a little bit
- Iron-on transfer paper-I used this one and it worked well, many people also recommend this one
- An iron and ironing board
- Some type of plastic to make the pages crinkle*: this can be any type of plastic bag such as Ziploc bags or empty cereal bags. *Optional, I did not make crinkly pages on my first book simply because I didn’t have any plastic
- A printer: make sure your transfer paper is compatible with your printer
- Wooden rings: Optional, this makes for a good place for baby to hold on to
- Basic sewing supplies: sewing machine, scissors, rotary cutter and mat, etc.
Decide what type of book you want to make
Are you making a family photo album? Are you making a story book? How about a recipe book for a toy kitchen?
There are many types of books you can make. I chose to make a book that was a cross between a family photo album and a story book.
Decide on a title
If you are making a book with words you will want a title. A simple title for smaller babies will work, but if you are making a book for a toddler, they may like a more interesting title.
The design part
I used Adobe Express’ square template and cropped my pictures so that they were mostly square. If using Adobe Express, make sure you change the size of the square to ~6” to give you enough margin. I also used one of the heart illustrations on the cover and on one of my pages. You should have a total of eight pages including the front and back covers. I decided not to put anything on my back cover, so I had a total of seven pages that I printed. Each of these will be printed separately and ironed onto the fabric, which will then be sewn front sides together.
Extra tip: Print the pages on paper first to make sure you are happy with the size and shape. I had to print mine multiple times before I was happy.
Print each of the pages on your iron-on transfer paper and let dry while you cut your fabric.
Cutting the fabric
- Eight 7” squares out of your page fabric–you can cut your binding out of this fabric, but I chose to make it out of a more interesting fabric.
- One 4” by 8” rectangle for the binding
- Four or eight (depending on the thickness of your felt and how thick you want your pages) 7” squares out of felt
- One 6” by 2” rectangle to be the loop for hanging or attaching to a stroller (I like to make this one out of a contrasting color and or pattern to my binding)
- Two or four (depending on how many pages you want to crinkle) squares of plastic
Cutting the photos and words
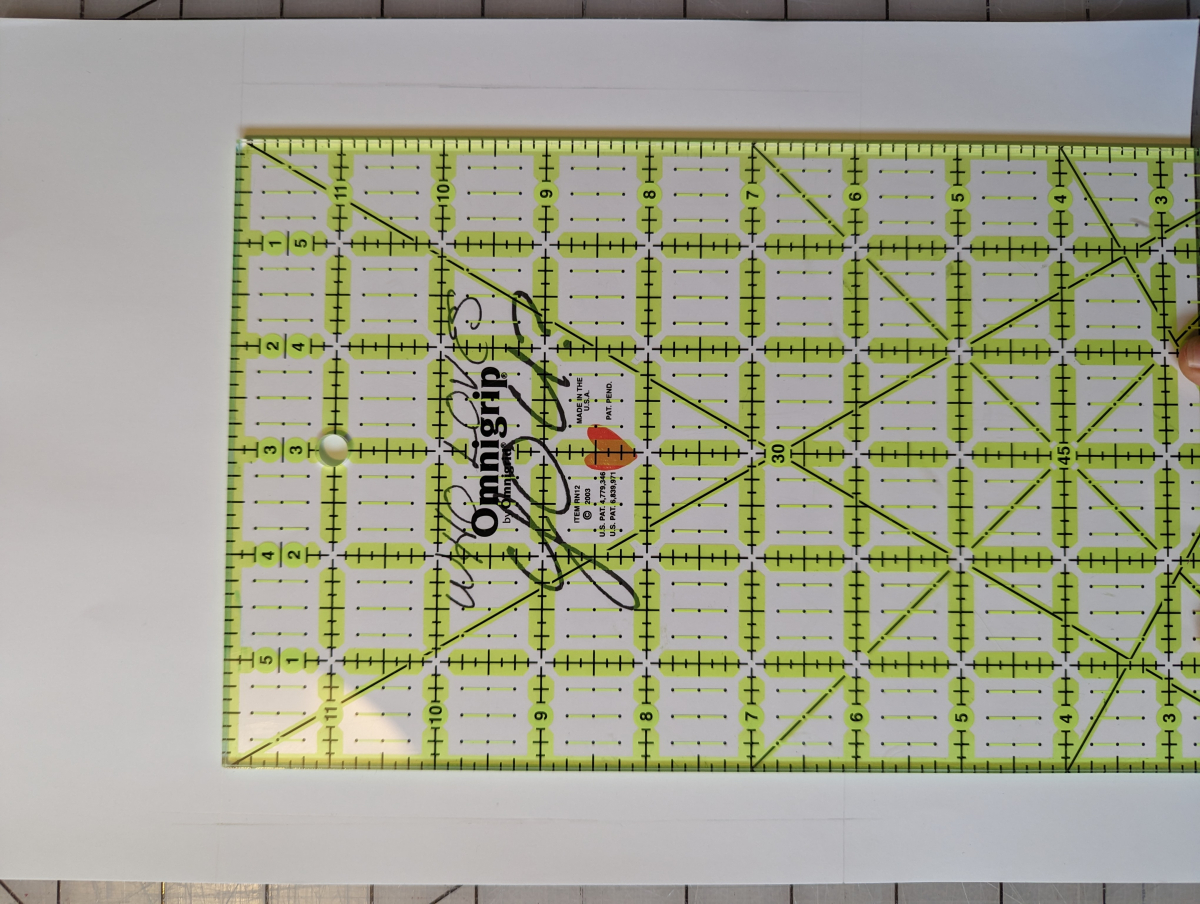
I like to cut my photos and words so that they are a 6” square. I used this ruler to help me.
Ironing on the photos
Make sure things are centered and you are happy with how they look before you iron them on! Follow the instructions on the package of your transfer paper to iron all the content onto the pages.
Assembling the pages
Once your pages are cooled, place them front sides together in order. So the cover would be paired with page one, page two and page three would be paired, and so on.
If using, place the plastic and felt on top of your pages (depending on how thick your felt is you may want to add another piece of plastic on the bottom of your stack).
Your stack should look something like this: Plastic, page one face up, front cover face down, plastic, felt.
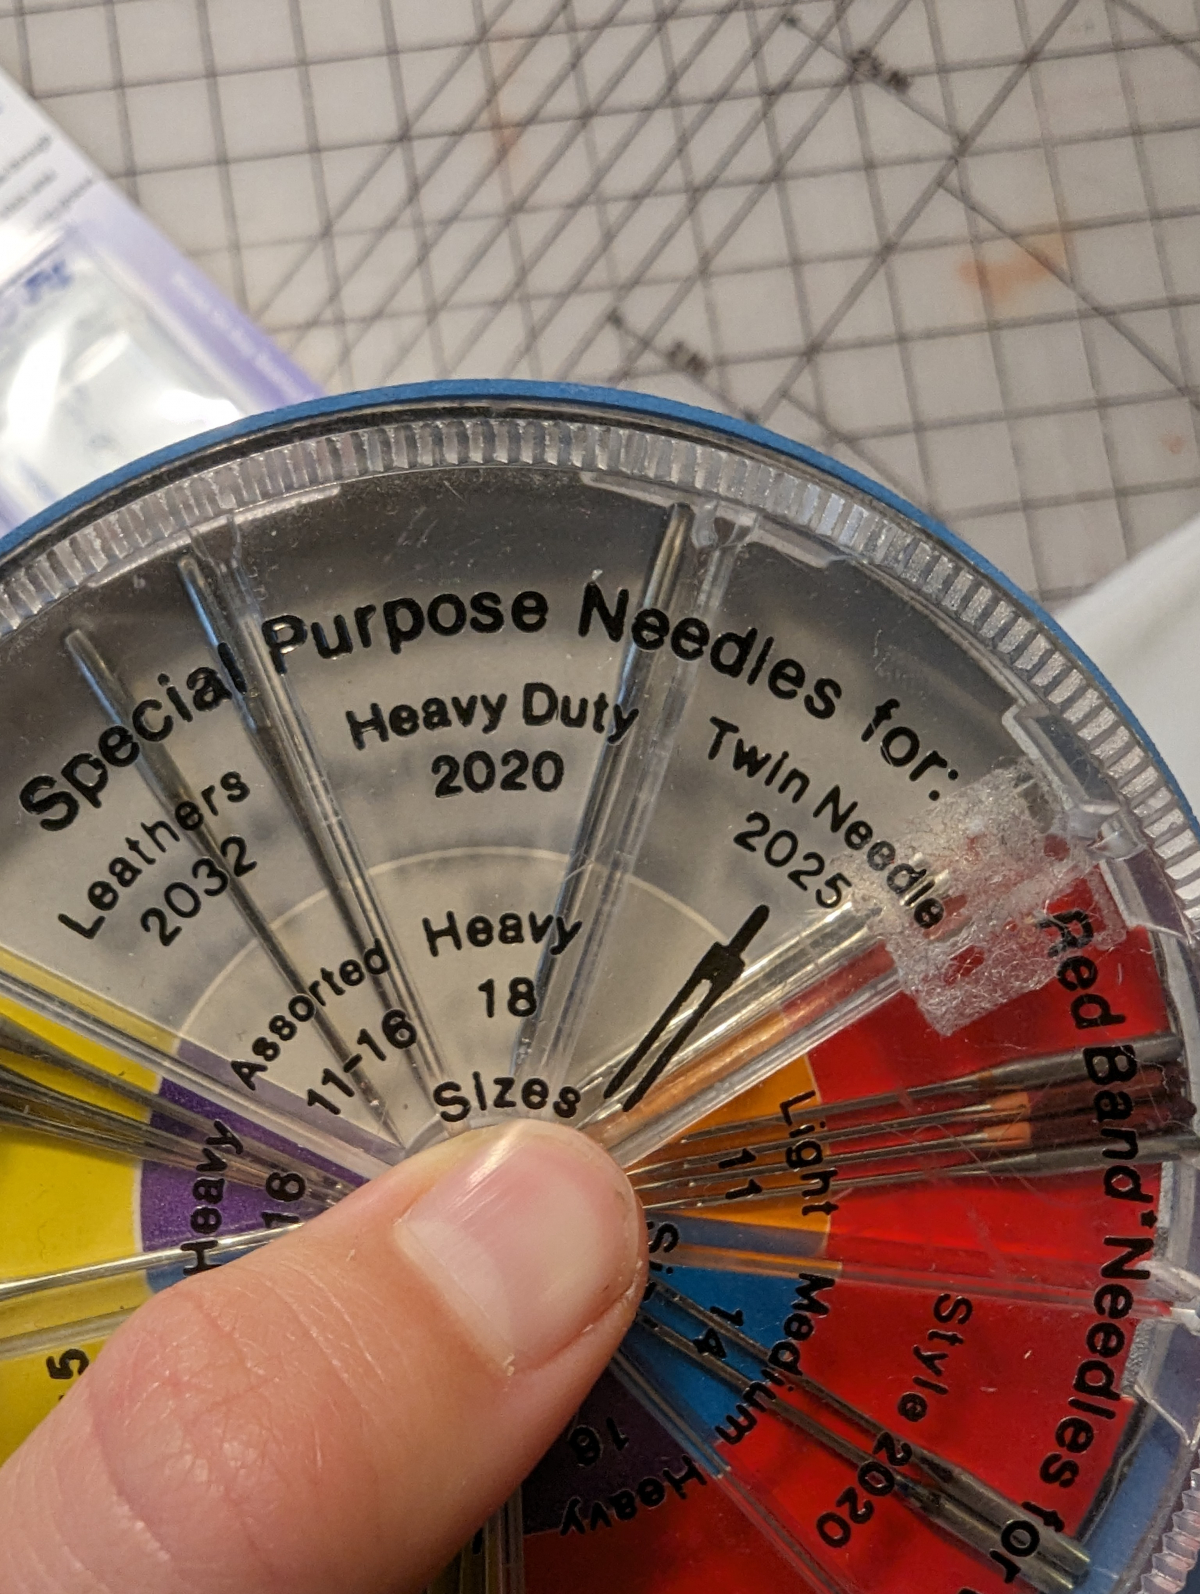
This is a lot for your needle to go through so make sure you have a heavy duty needle on your machine. You don’t want this project held up by a broken needle!
Sew around the edges making sure to leave one side open to turn. You want the open side to be where you are going to bind the book (That is the right side when your pages are upright, so that when you turn your pages the open side is on the left). Clip your corners if you want your pages to be more square.
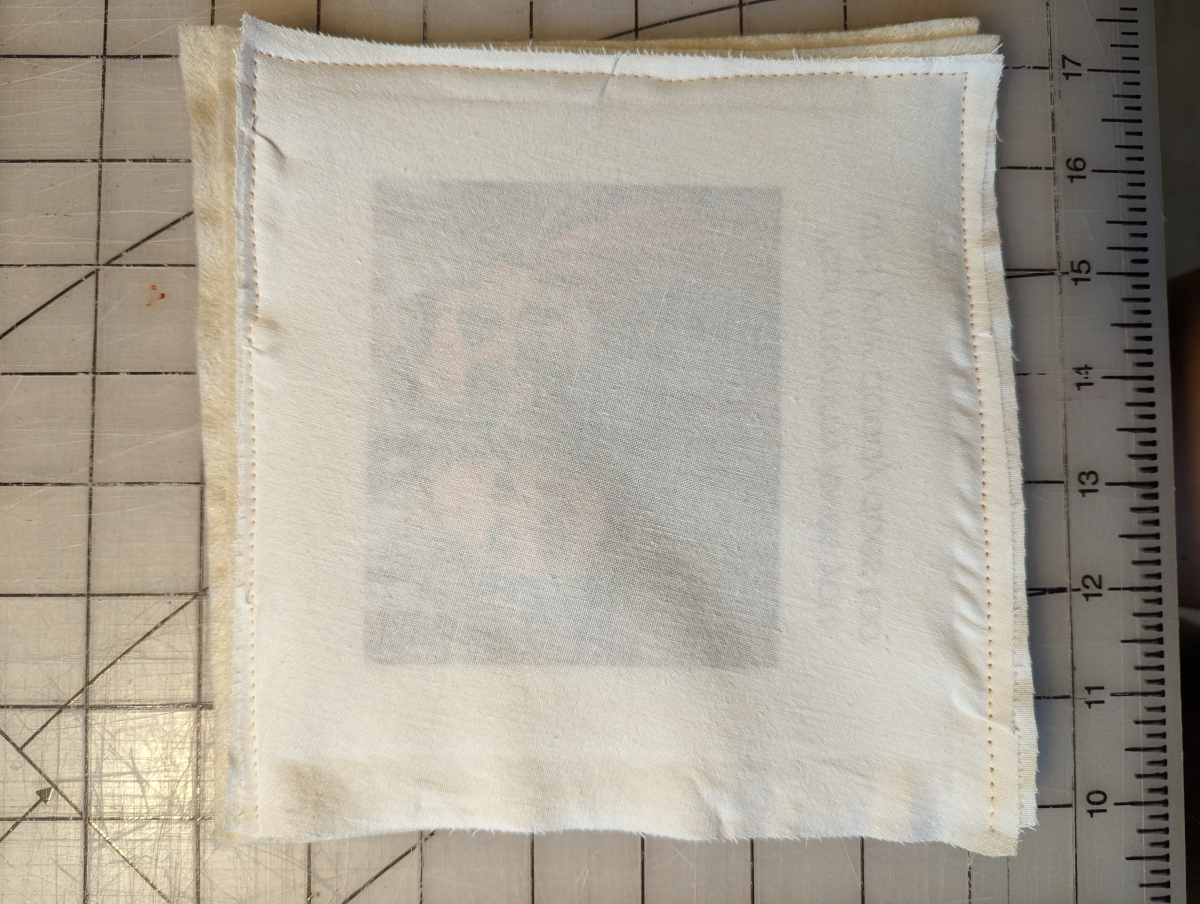
Once you have all the pages sewn together and flipped, press/iron the ones that don’t have plastic in them. Note: if you iron the pages with plastic in them, the plastic will melt and your page will be ruined. You can place them under a heavy book to help flatten them.
Assembling your book
Make sure your pages are in order. The cover should be the first, then page one, page two, etc.
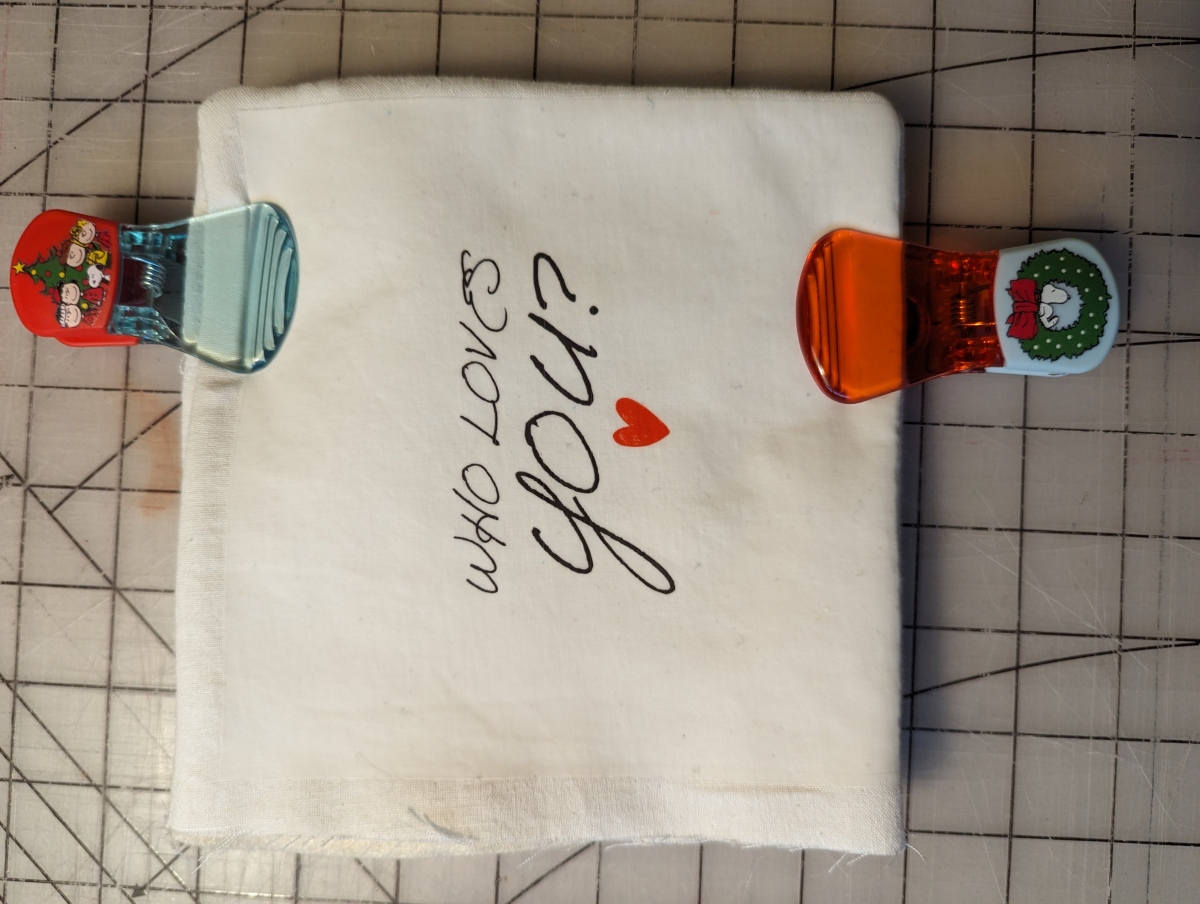
Use some clothespins or clips to hold all the pages together and sew down the open side with ½” seam allowance. If your pages have frayed, trim off the extra thread. Check to make sure you're happy with how the pages look. If not, now is the time to fix that. Note: I did end up having to sew my pages together by hand because they were too thick for my sewing machine.
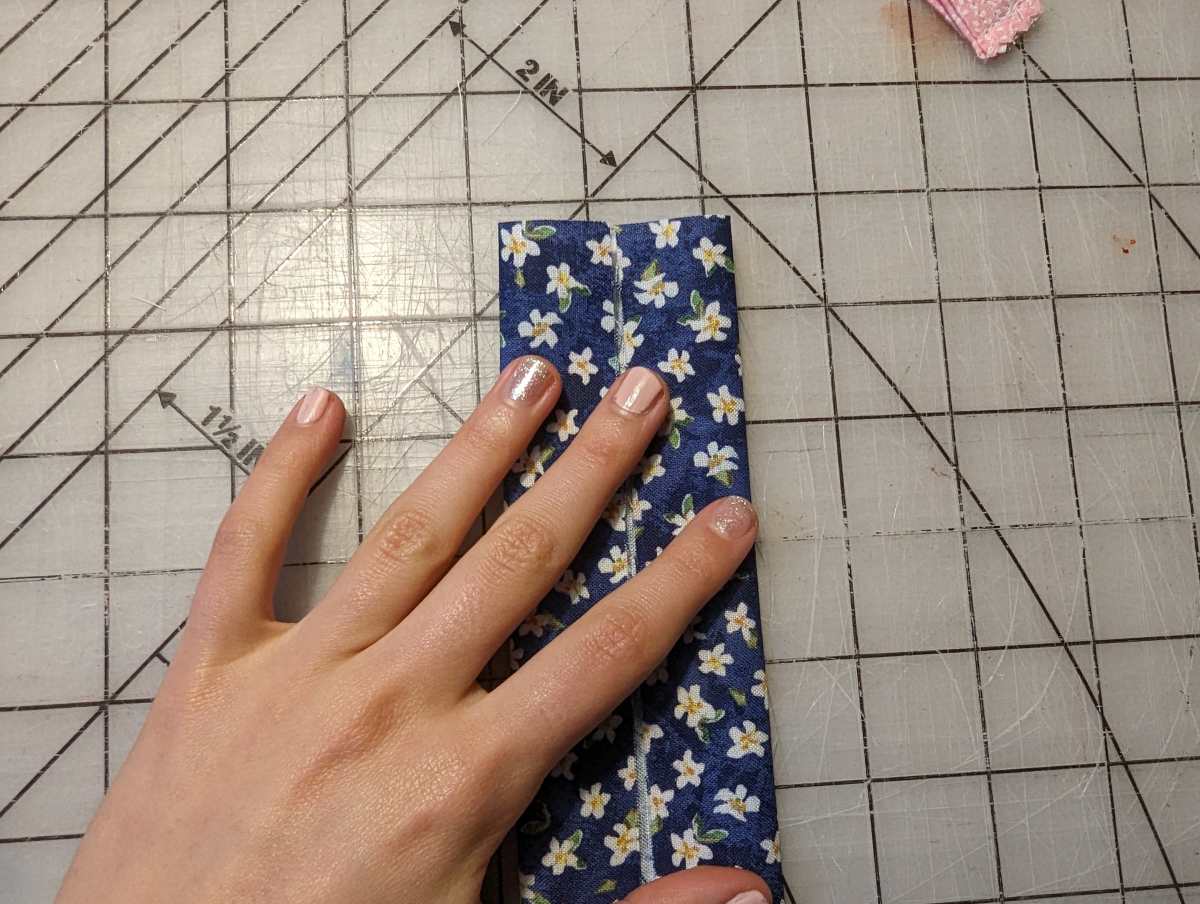
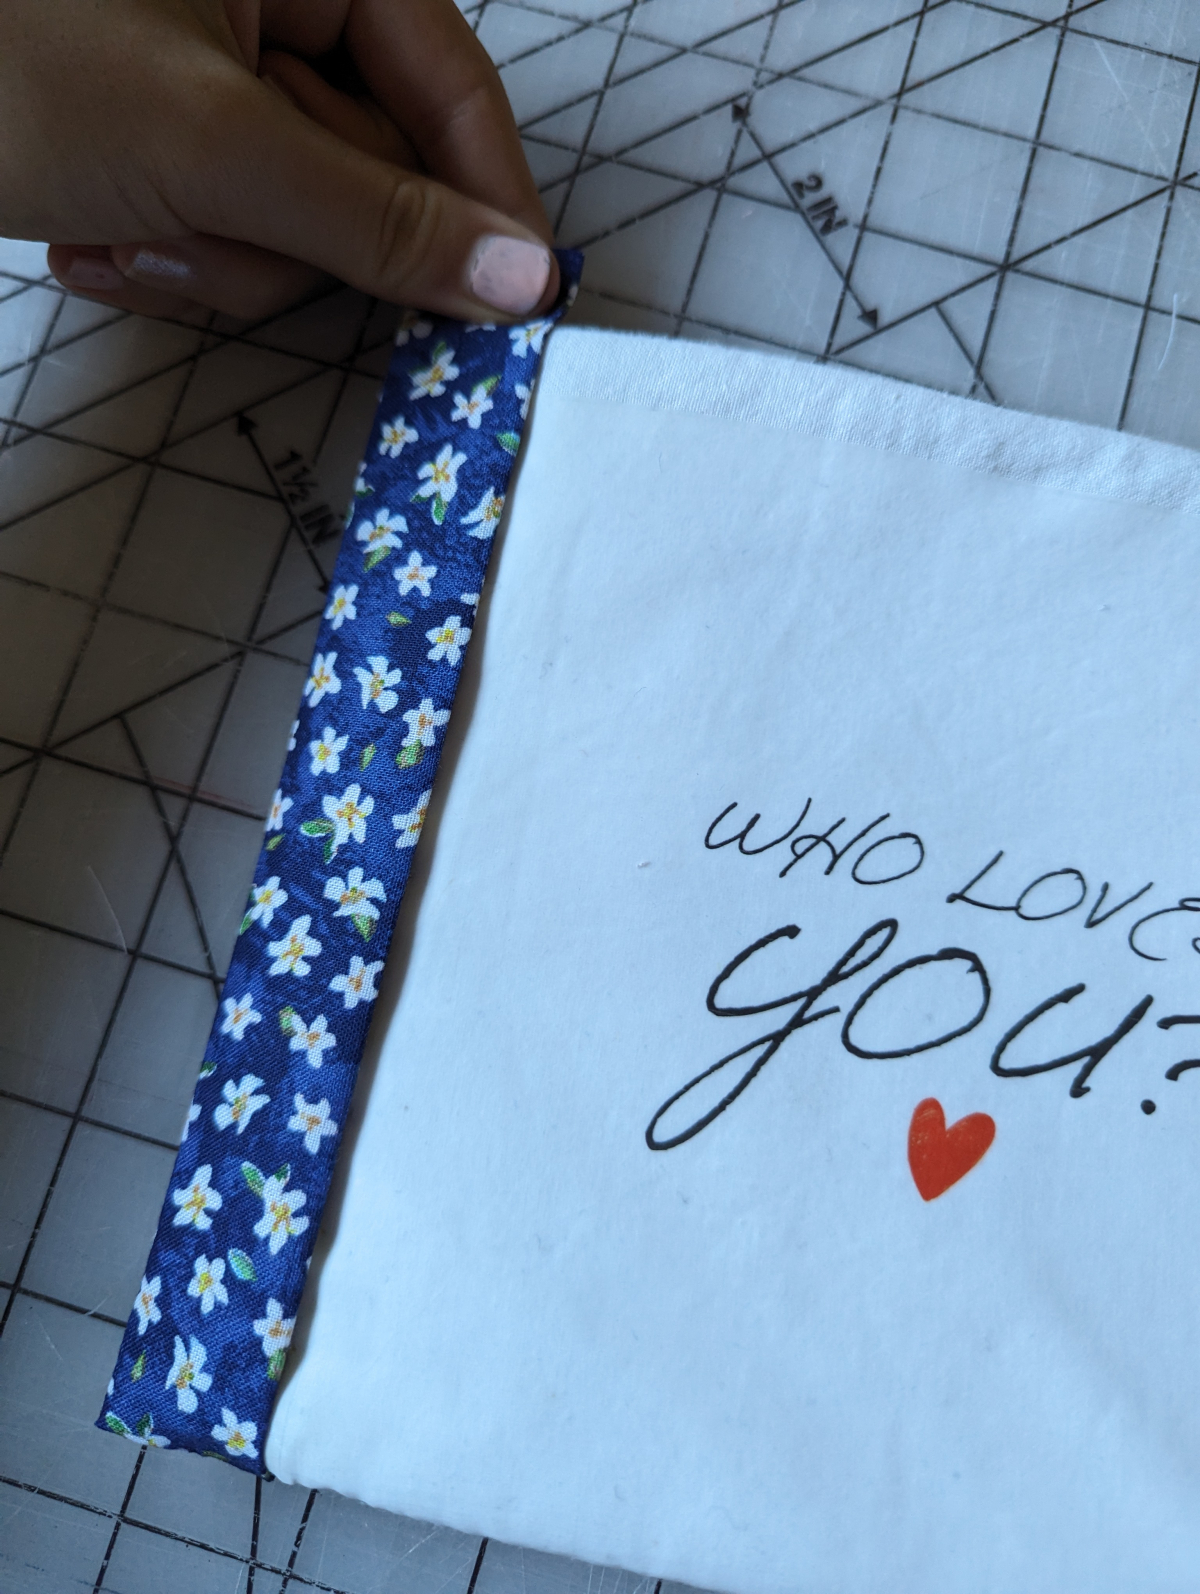
Preparing your loop piece
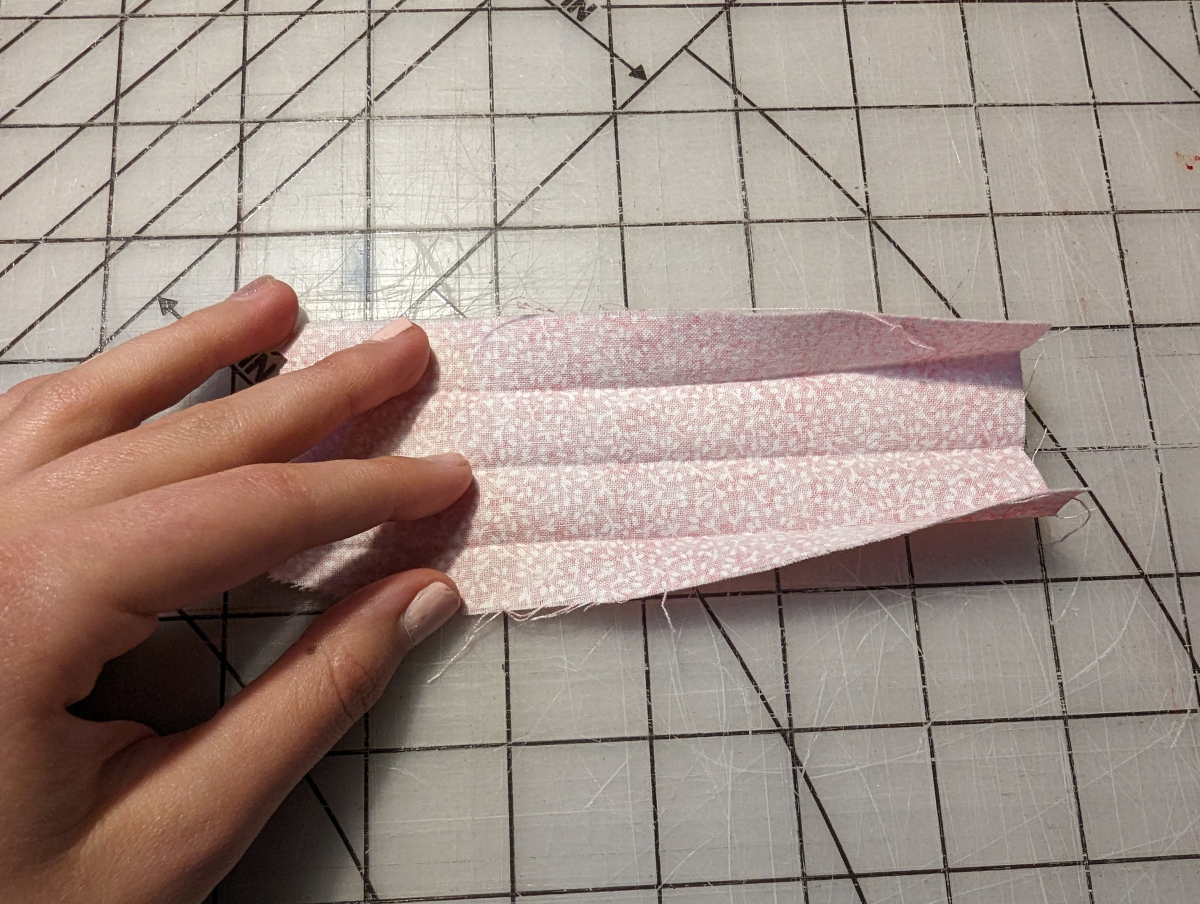
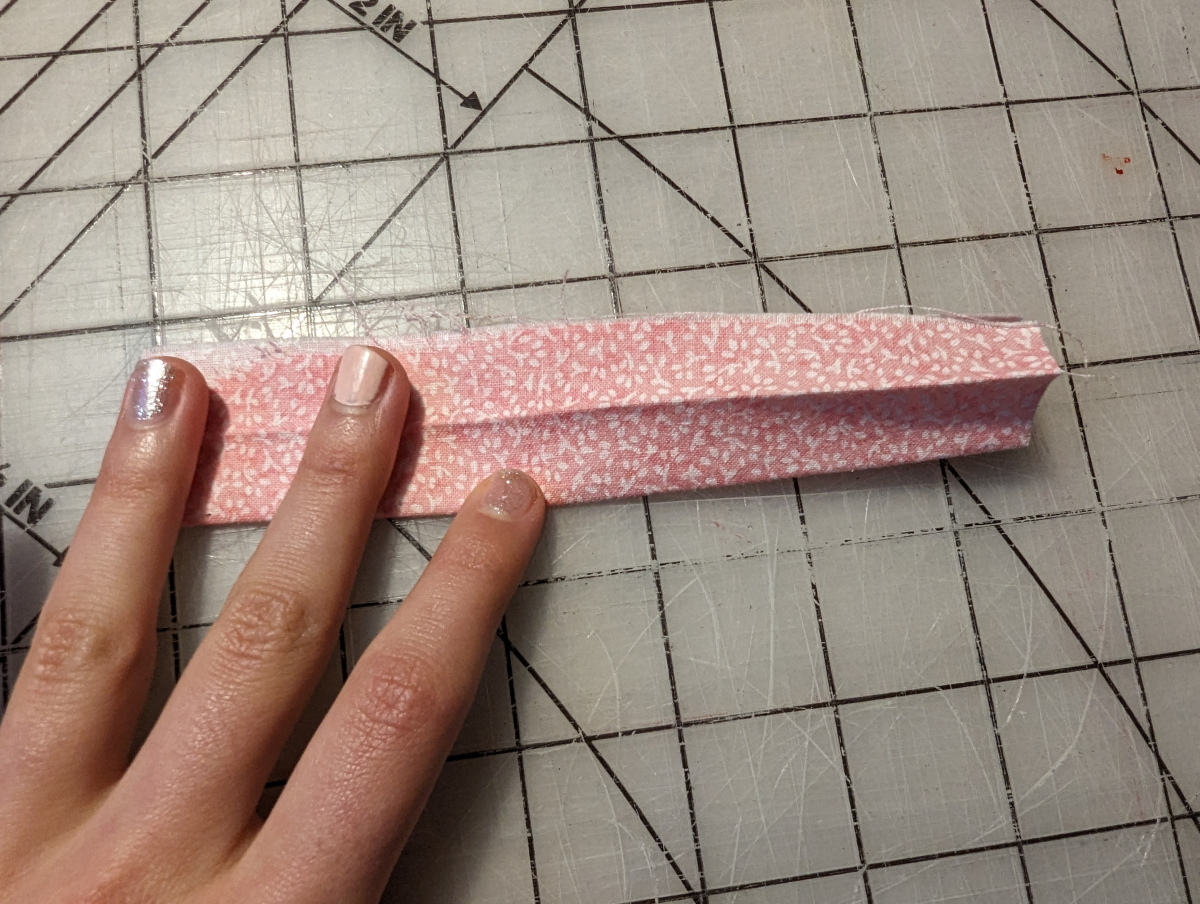
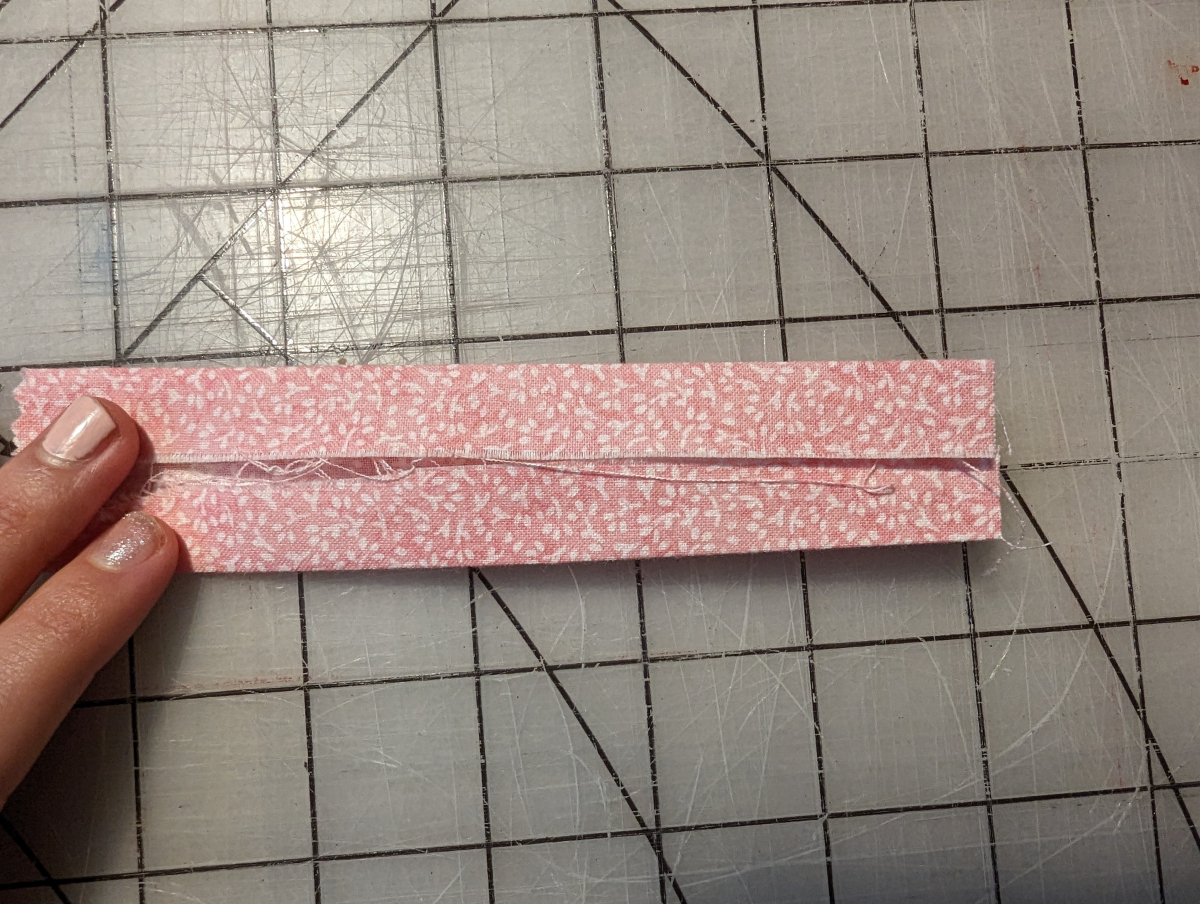
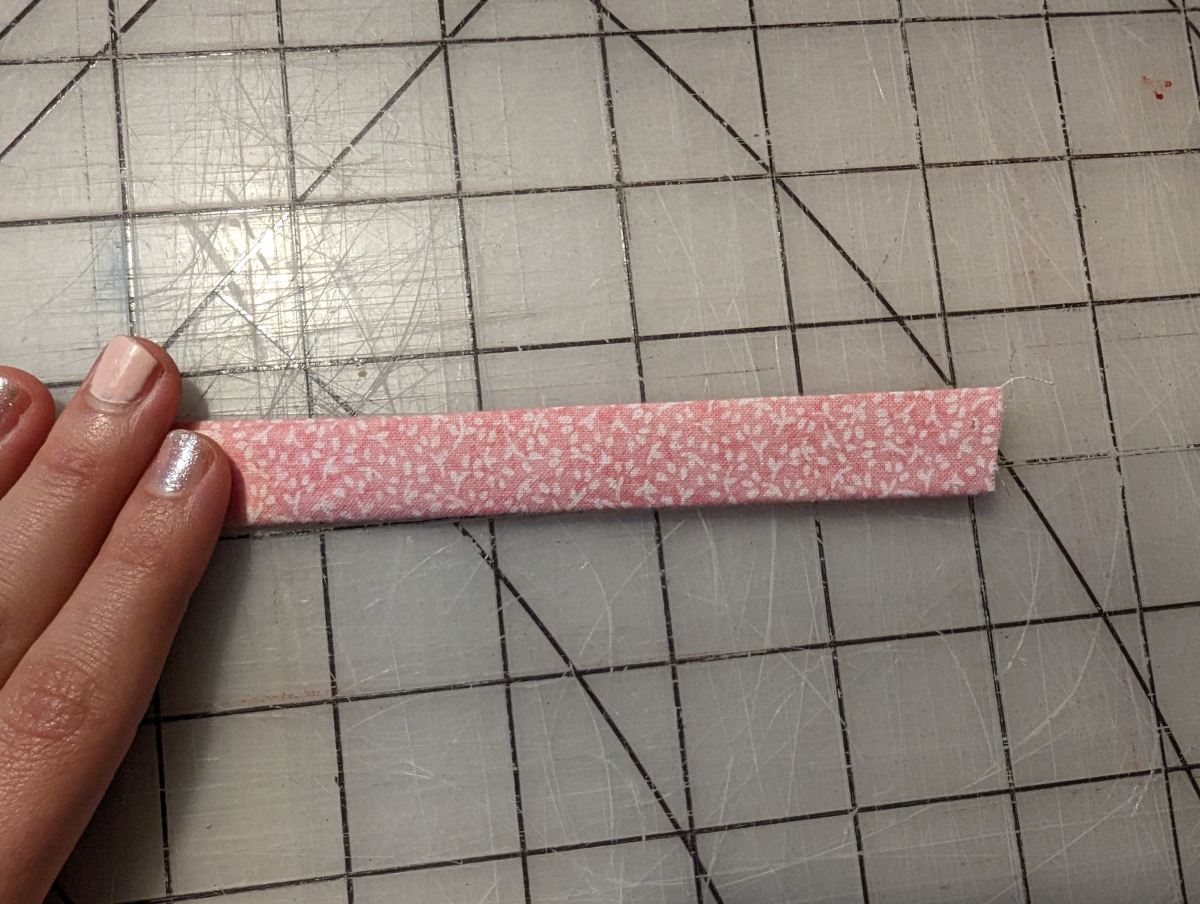
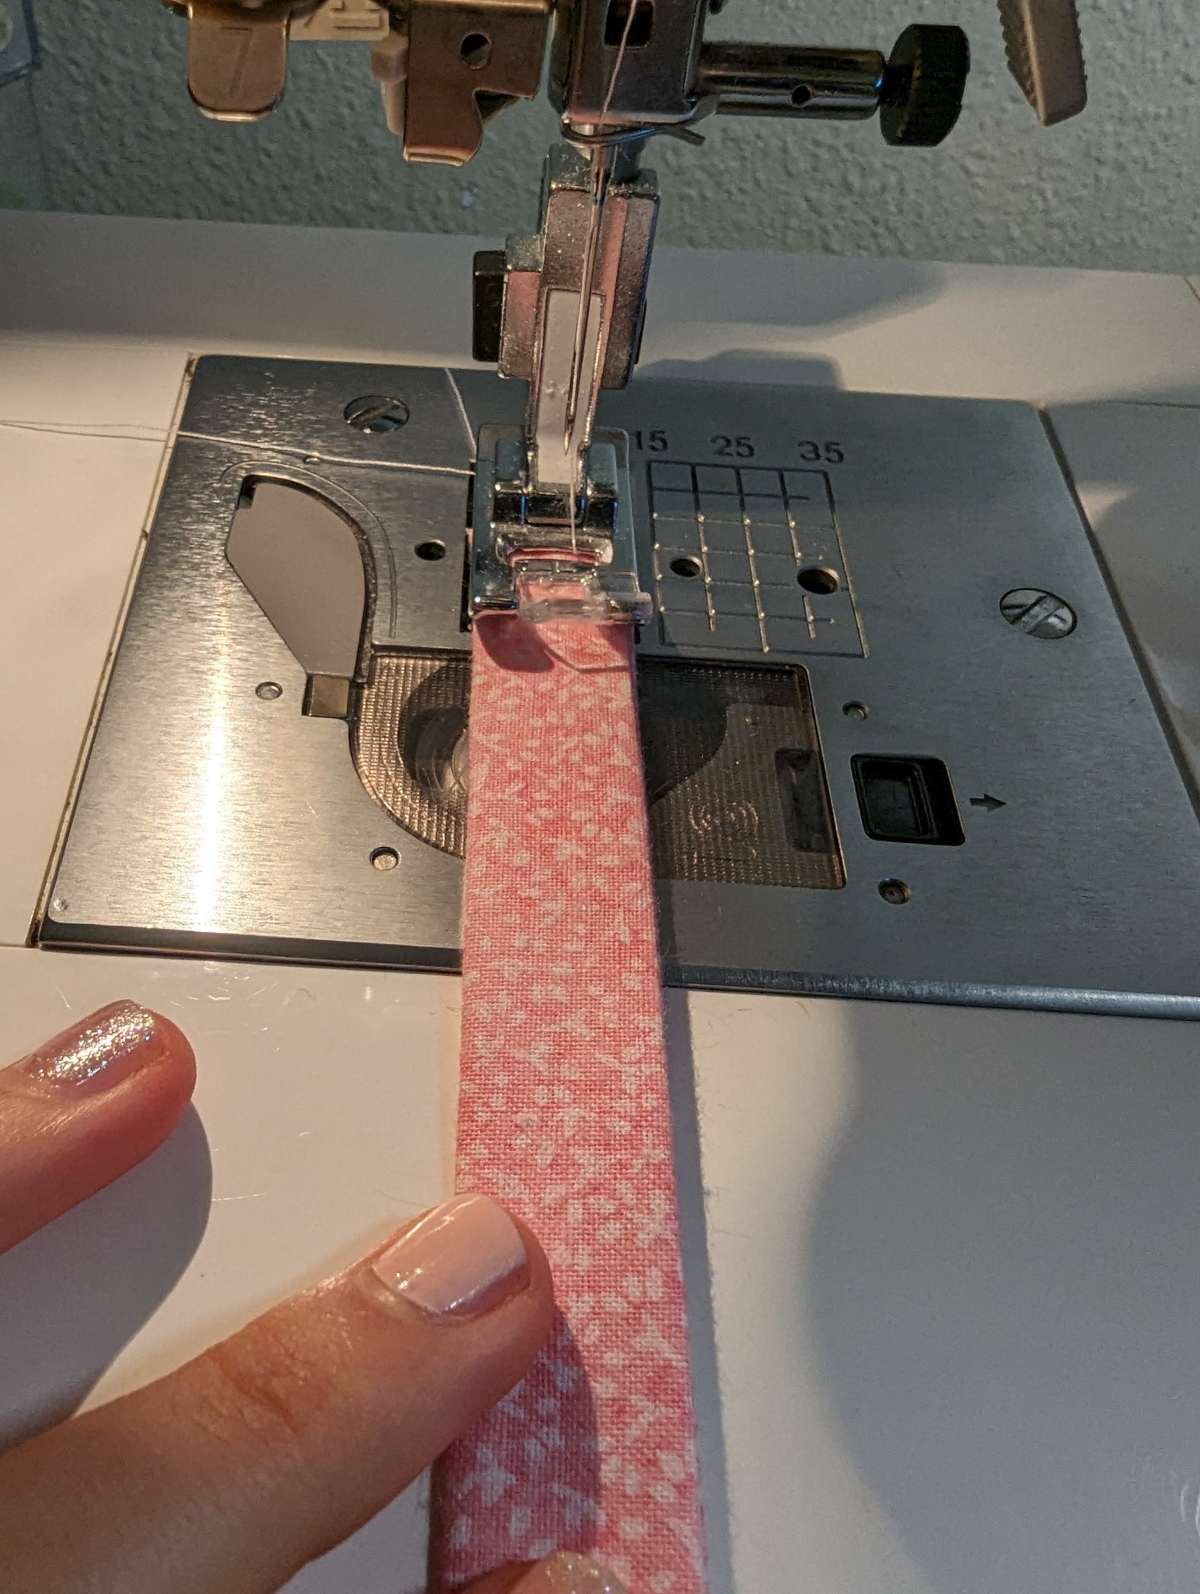
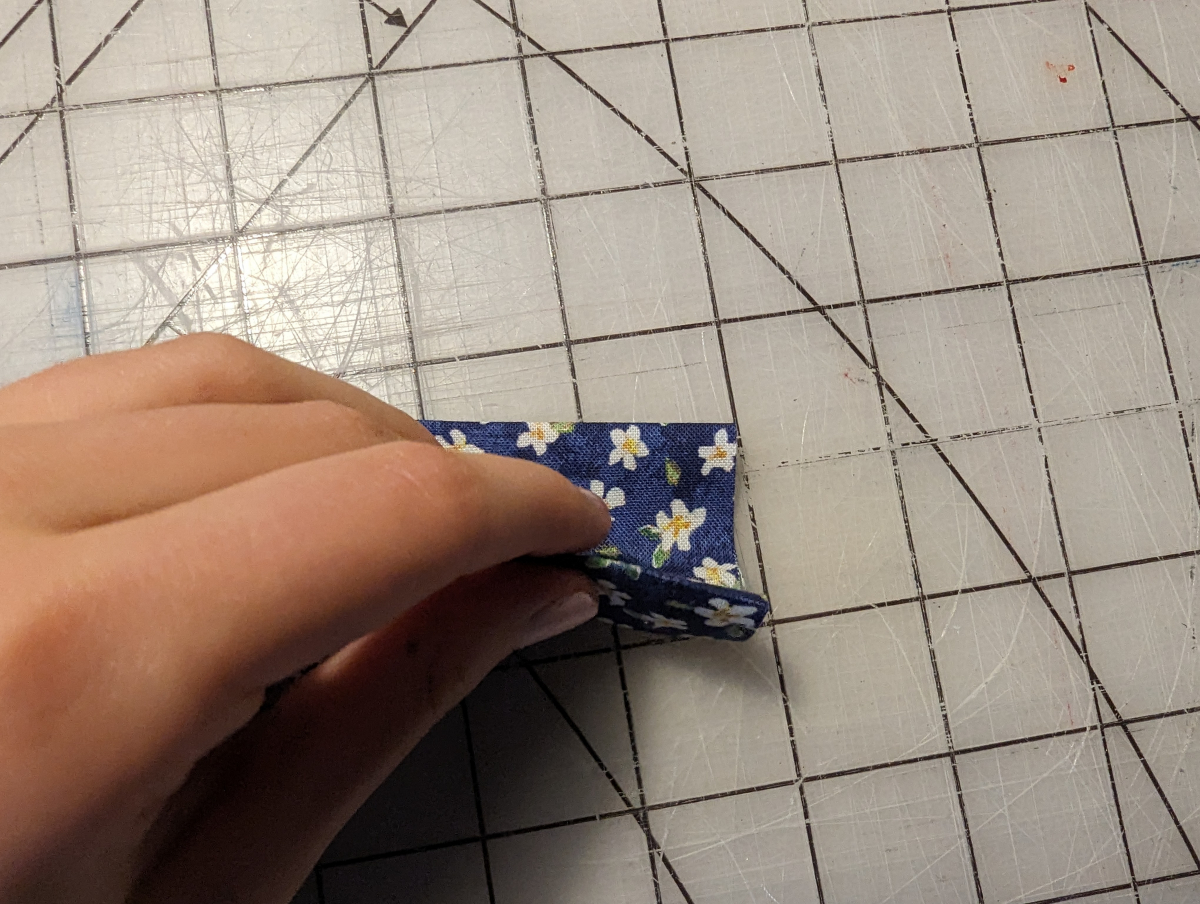
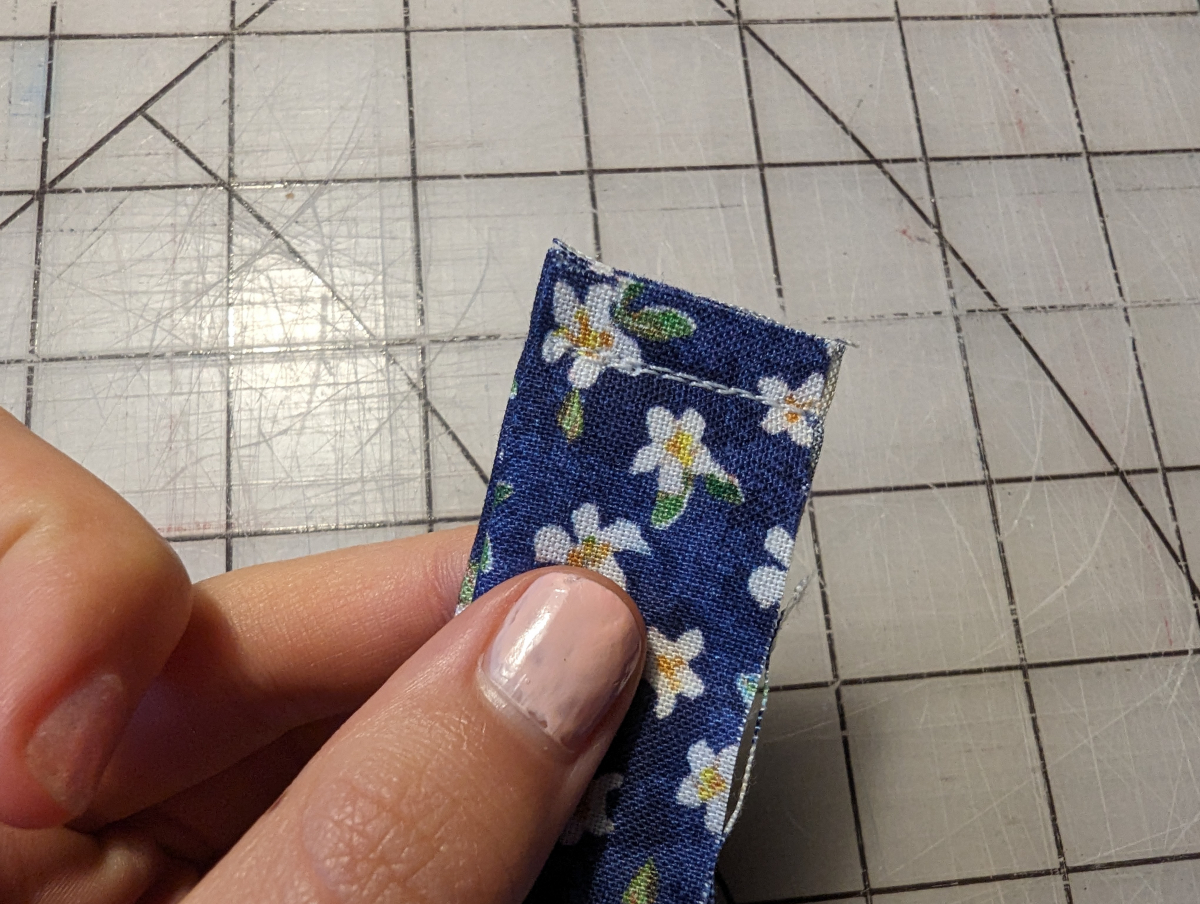
For your loop piece, fold it in half, press, open it up, and fold each of your sides in to meet the middle line, and then fold in half again on your centerfold. Press again. Sew along the middle of your piece and both edges.
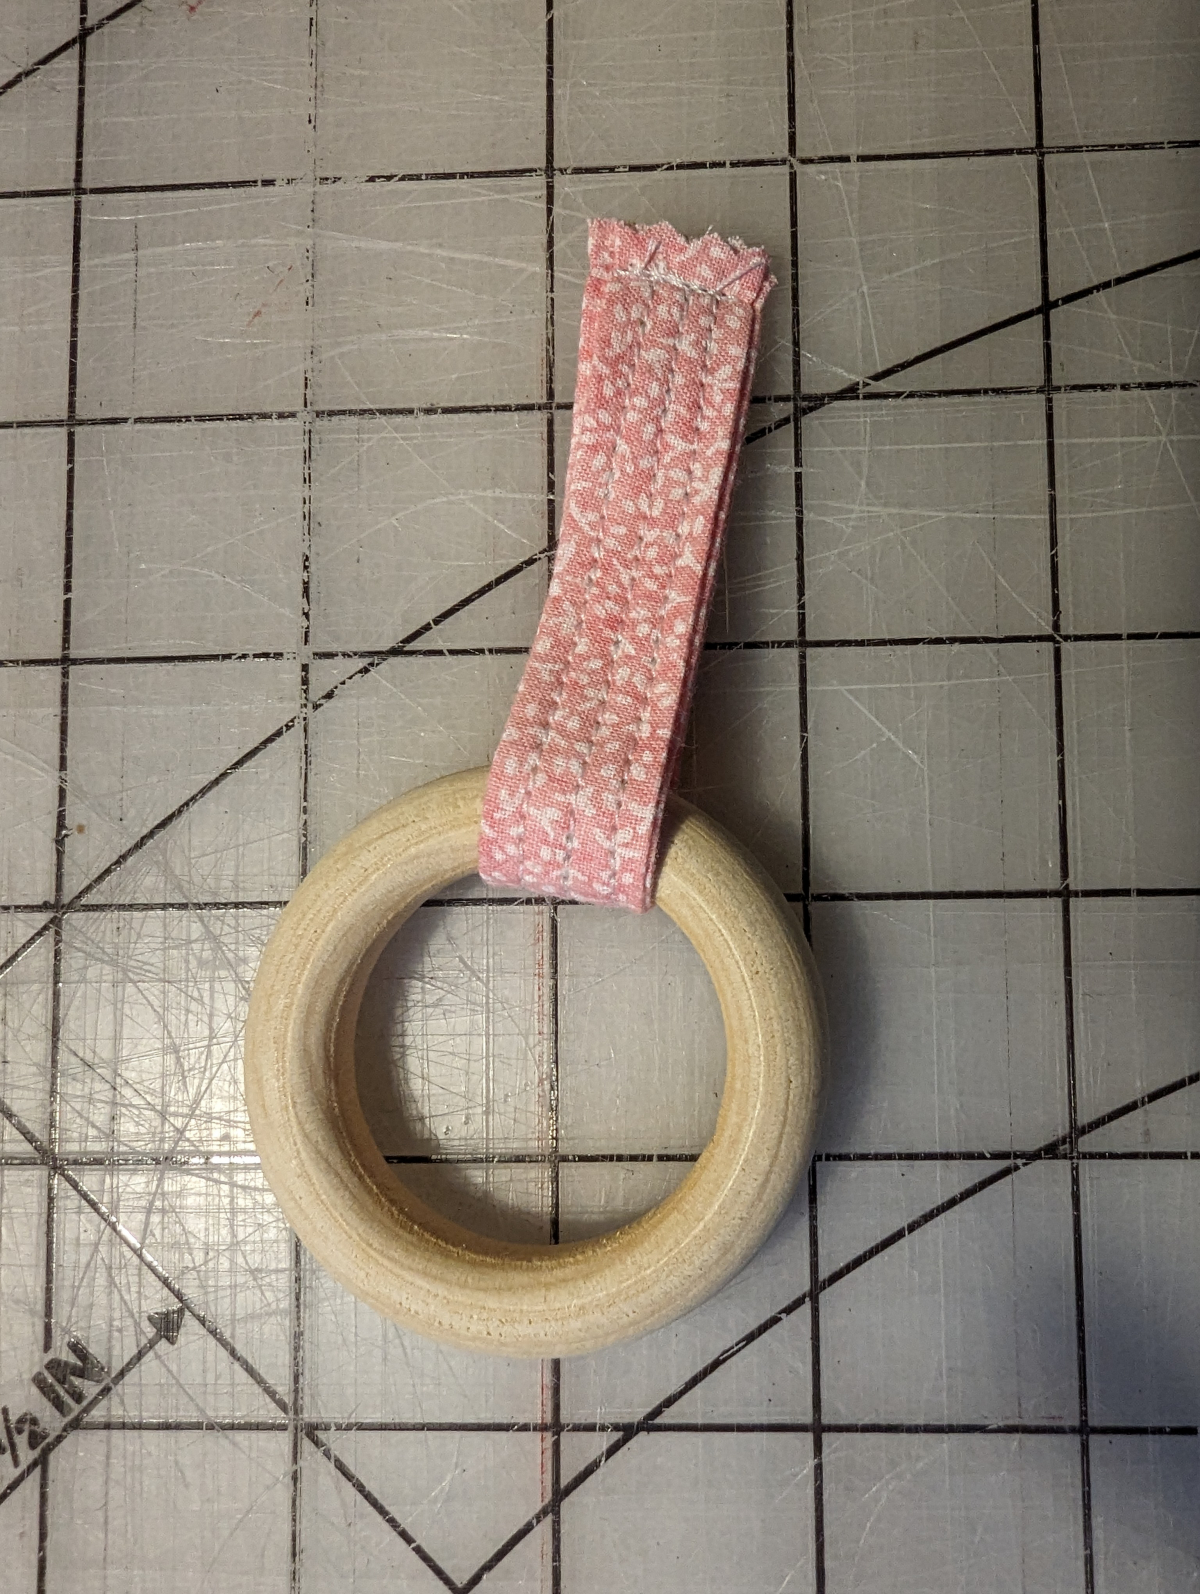
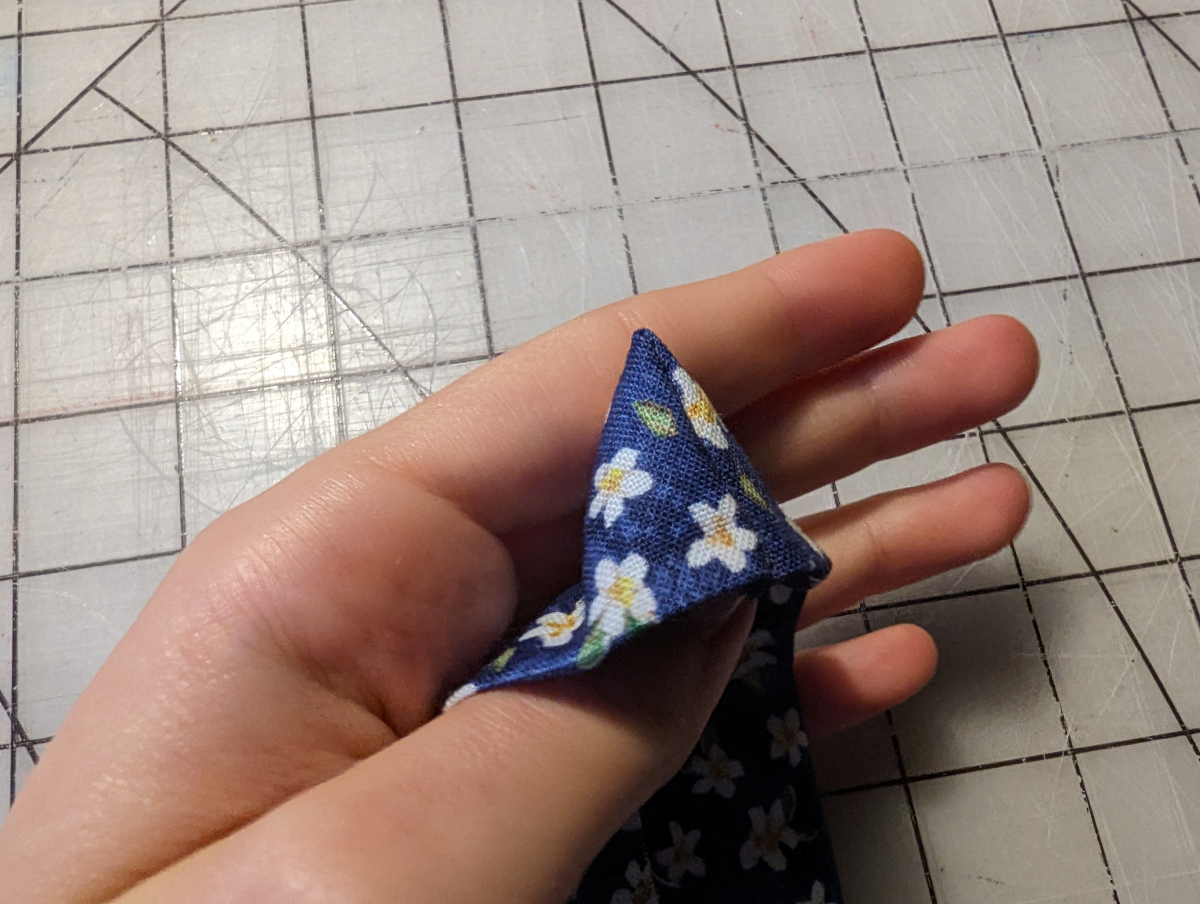
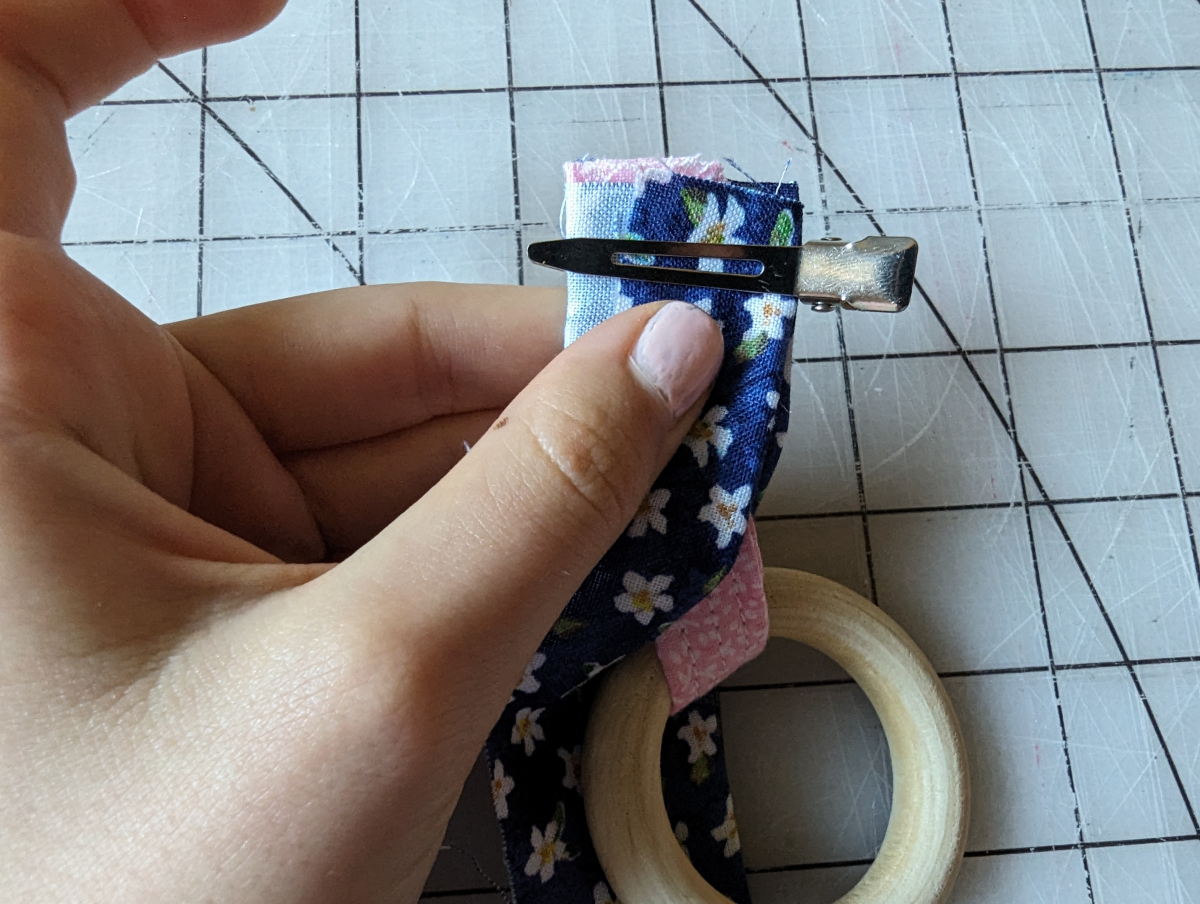
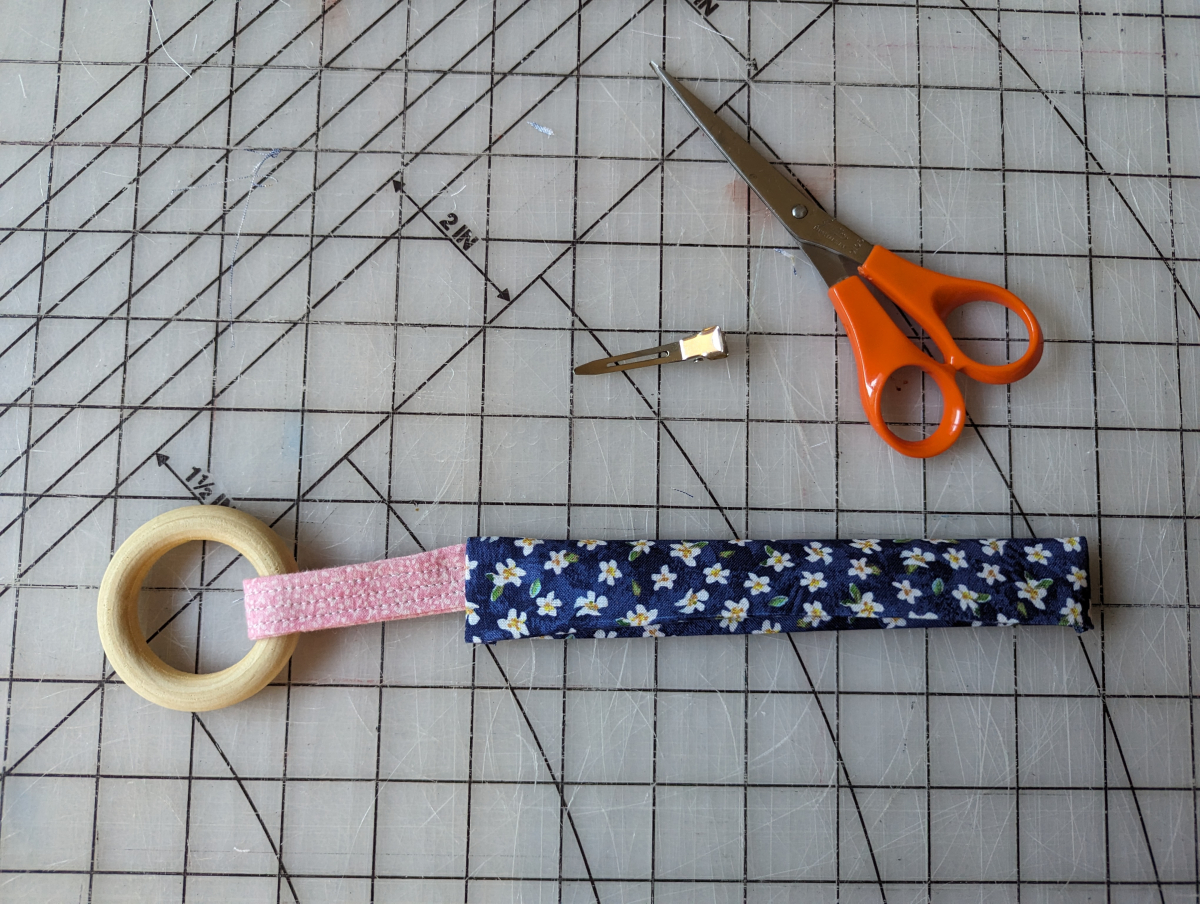
Optional step, you can add a wooden ring or a teething ring onto this loop if you want.
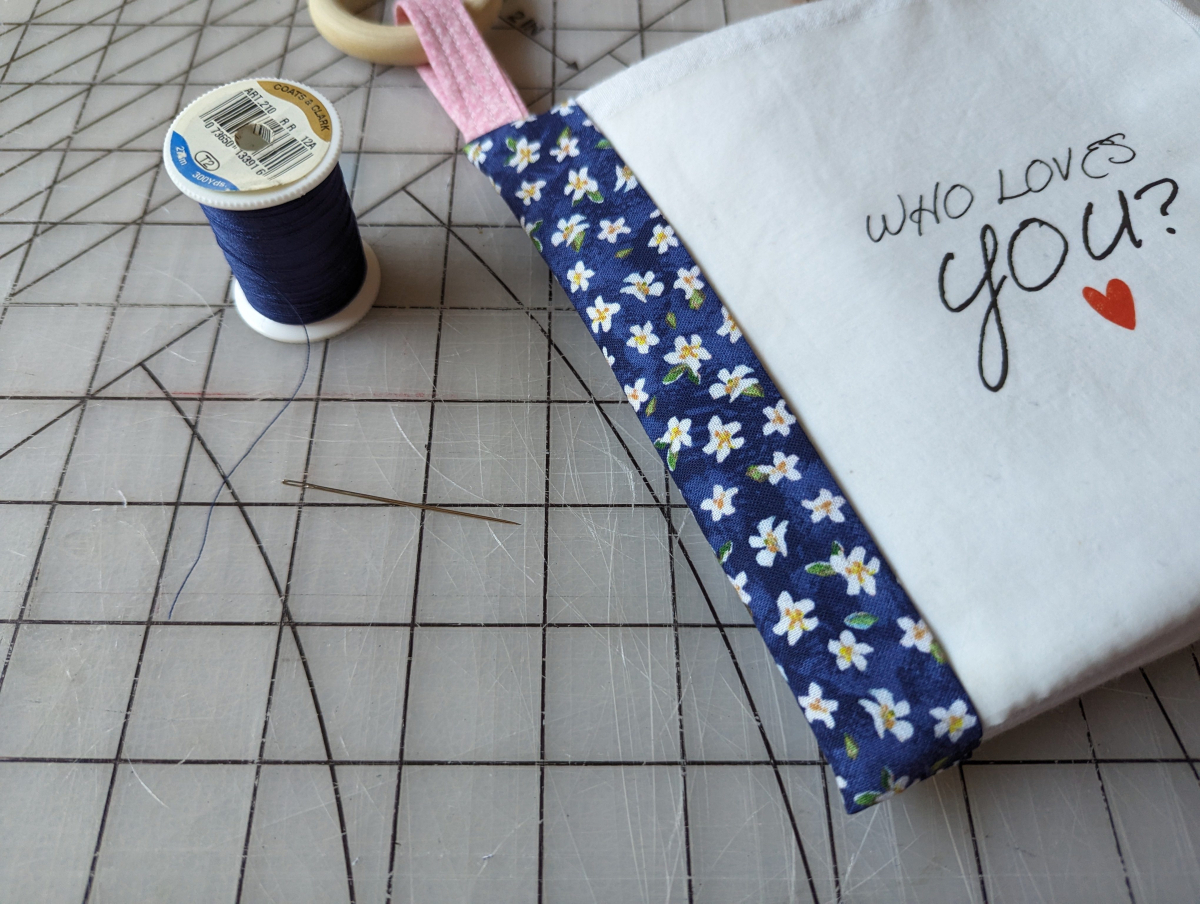
Now fold it into a loop and sew it closed. We will attach it to your binding in a moment.
Now for the binding
And you're done! Please trim all tails and make sure everything is secure before giving this project to a baby!
How to wash your book
Without wooden ring: place your soft book in a pillowcase and knot the end. Then wash on a cold, delicate cycle. Use a baby safe detergent. Line dry in the shade so your book doesn’t fade.
With wooden ring: Fill a sink with water and a baby safe detergent or soap. Submerge your book and swish about. If possible keep the ring out of the water. Drain the sink and rinse all the soap out of your book. Line dry in the shade.
More resources
If you don’t want to use iron-on paper you can buy pre-printed fabric specially designed for soft books. Spoonflower has a large selection you can view here.
Elsie from A Beautiful Mess has a super simple version that doesn't require a sewing machine.
Happy sewing!