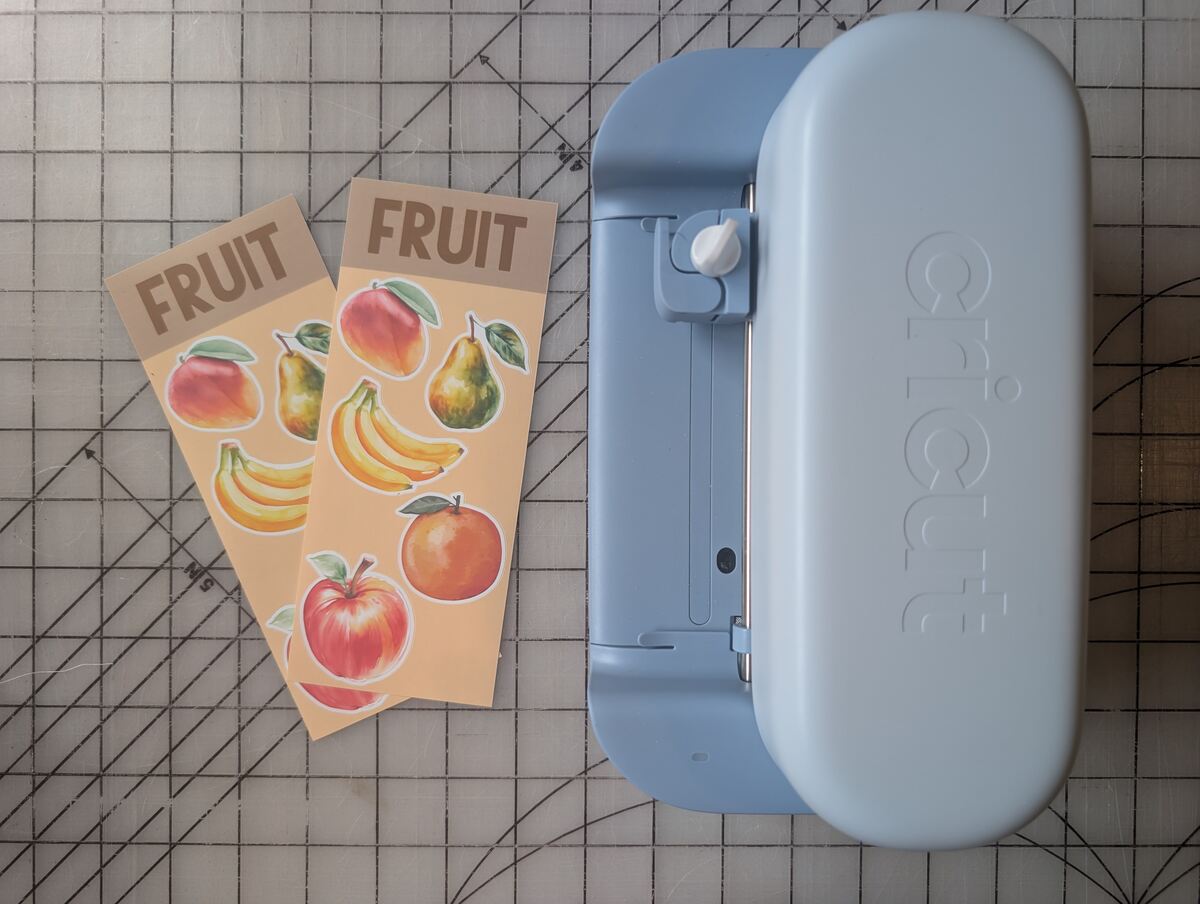
Hi friends!
I recently got a Cricut Joy 2 specifically to make print-then-cut stickers. I started on my Cricut journey with a regular Cricut Joy, but quickly realized I would utilize the print-then-cut feature on the Joy 2!
However, I do not have Cricut Access which allows a user of Cricut Design Space to use any and all of the features Design Space offers. I also like to use my own work (post on that coming soon!) or other graphics like I find on Adobe Express. So I've figured out a method for that and I'm sharing it with you today!
Note: I will only be sharing how to get images from Adobe Express into Design Space in this post. I'll link to the video tutorial from Craft With Felicia that I used to learn how to make sticker sheets with for y'all to finish up the sticker sheet making process.
You will need an account with Adobe Express for this project. But you do not need Adobe Express Premium. I don't have it.
Let's begin!
Head into Adobe Express and click the blue plus button in the top left corner right under the Adobe Express logo.
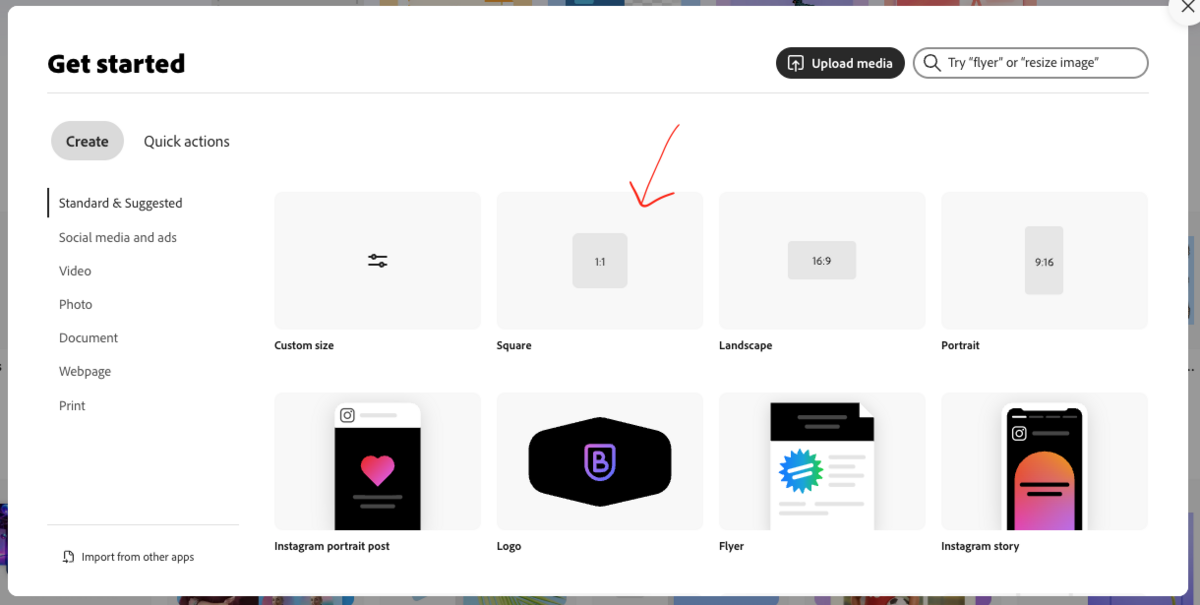
When you click that button, a pop-up menu will open. Click on the square option.
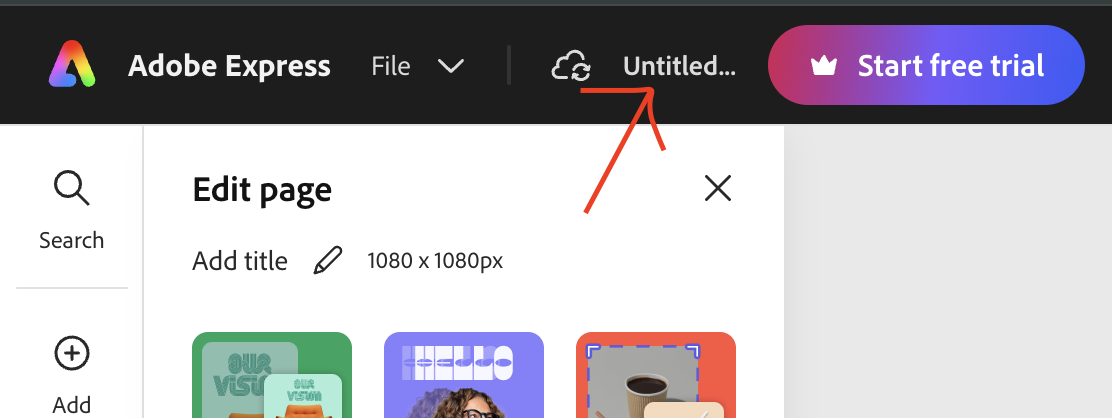
Next I like to name my project. You can do this by clicking on the word "Untitled" by the little cloud.
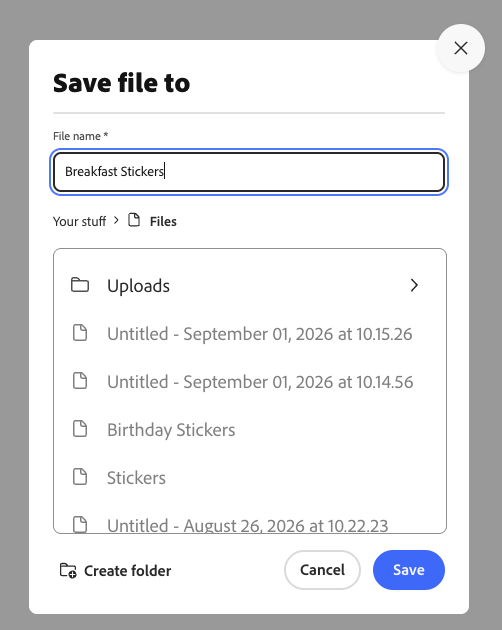
This pop-up menu will open. You can give the file a name and house it in a folder if you like. Then click "Save".
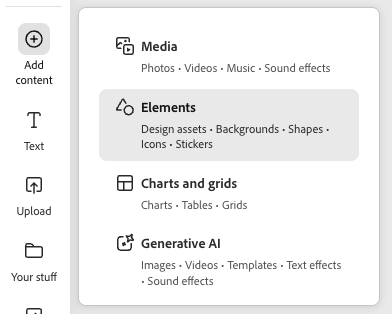
Next go to the "Add content" plus sign in the top left corner. Click on elements.
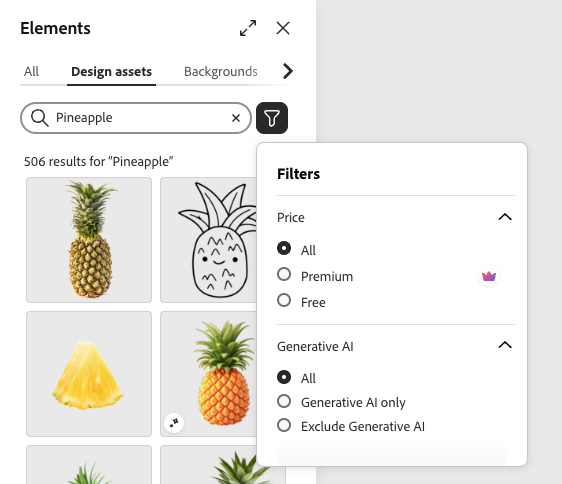
In the elements tab you can search for a specific element of your choice. If you are not using the Premium membership, I like to select "Free" under the "Filters" button. It is the little funnel looking icon.
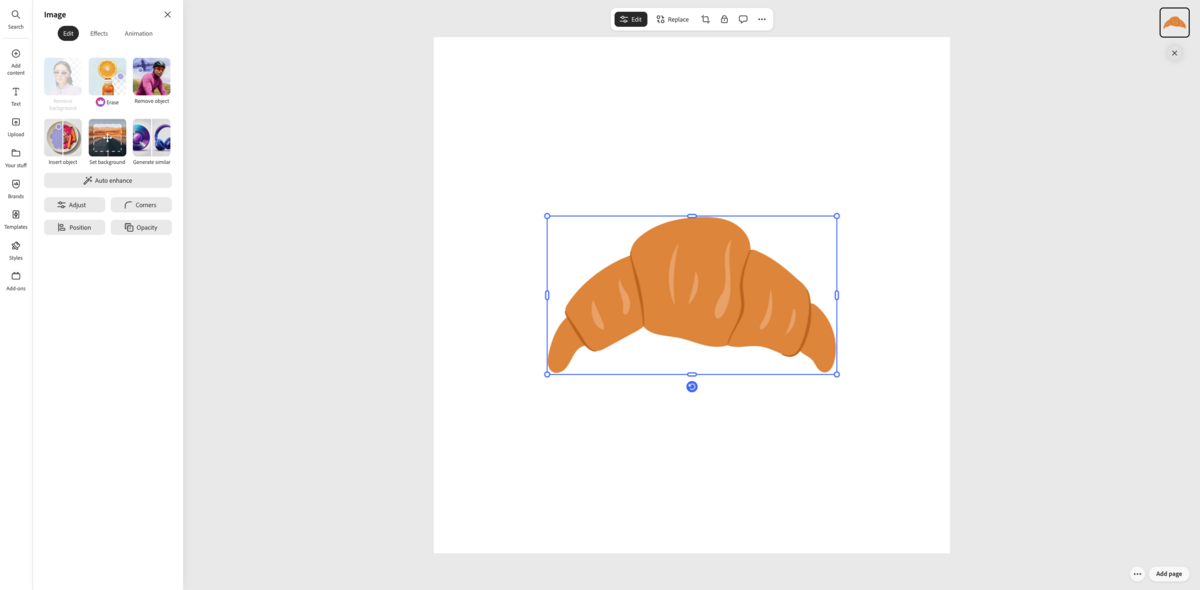
Once you find an element you like, click on it. This will add it to your page.
Now we want to change the background of our page to be transparent. Click off the element (the grey part of the screen or on the "Edit Page" button above the page) You will see an "Edit Page" section in the side bar.
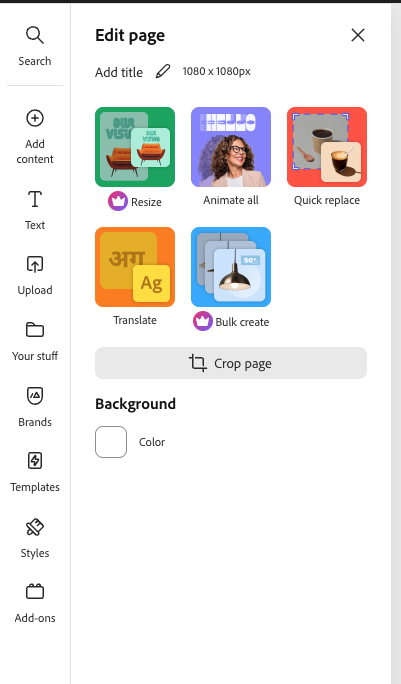
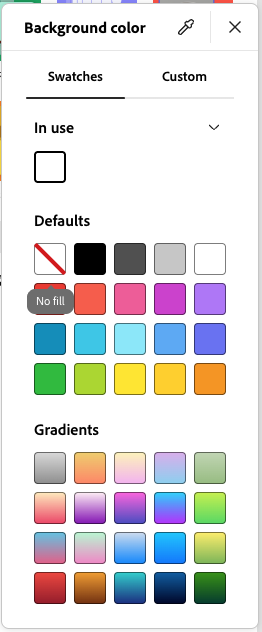
Under the word "Background" you can see a box for the color of the page. After clicking that this color menu will pop up. Under "Defaults" click the white square with the red line through it.
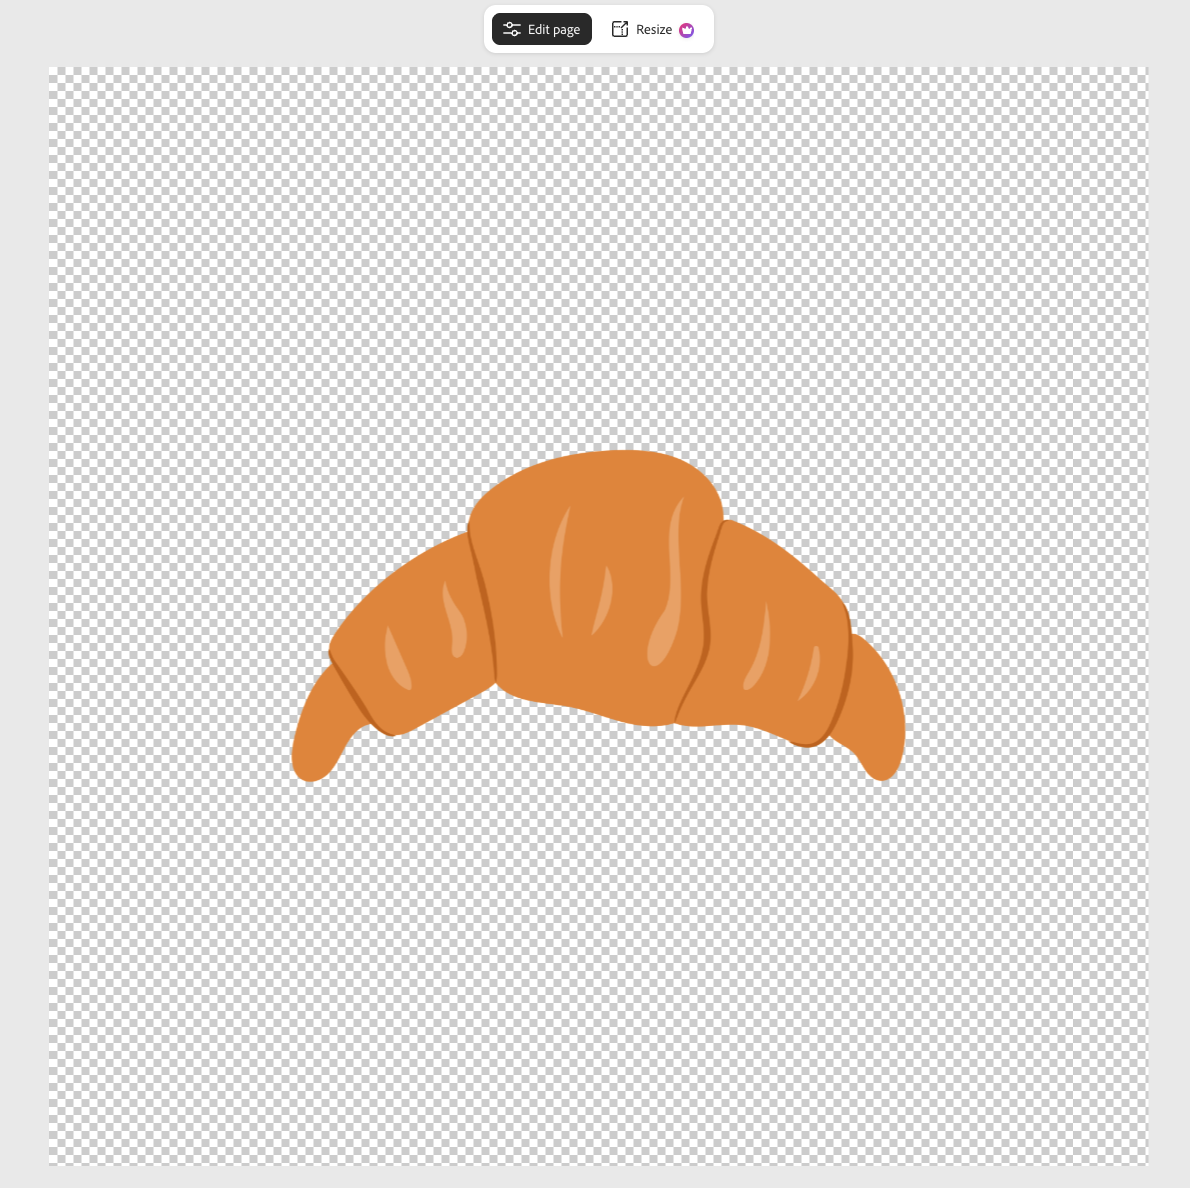
This will make the background of your page transparent. Like this.
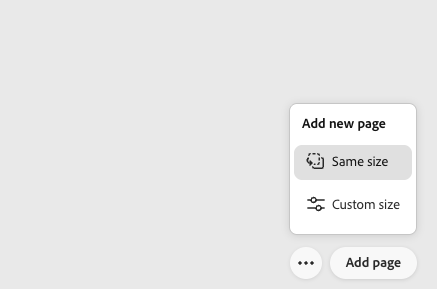
If you want to upload multiple elements within an Adobe Express file, go to the lower right corner and click where it says "Add page". It will give you a small pop-up that asks what kind of new page you'd like to create. For now, click "Same size".
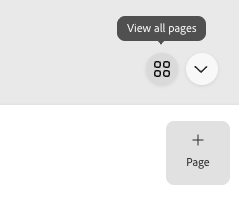
Once you have chosen all the elements you'd like. Go back down to the bottom left corner and click the four squares. The "View all pages" button.
This will bring you to a page that looks something like this. Select all the pages then click the "Download" button.
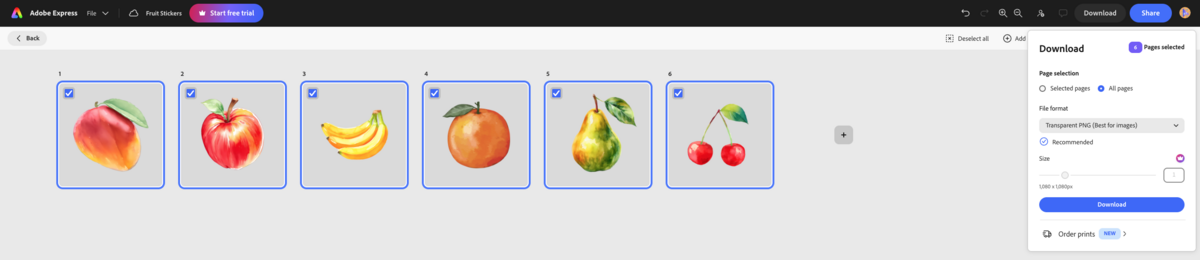
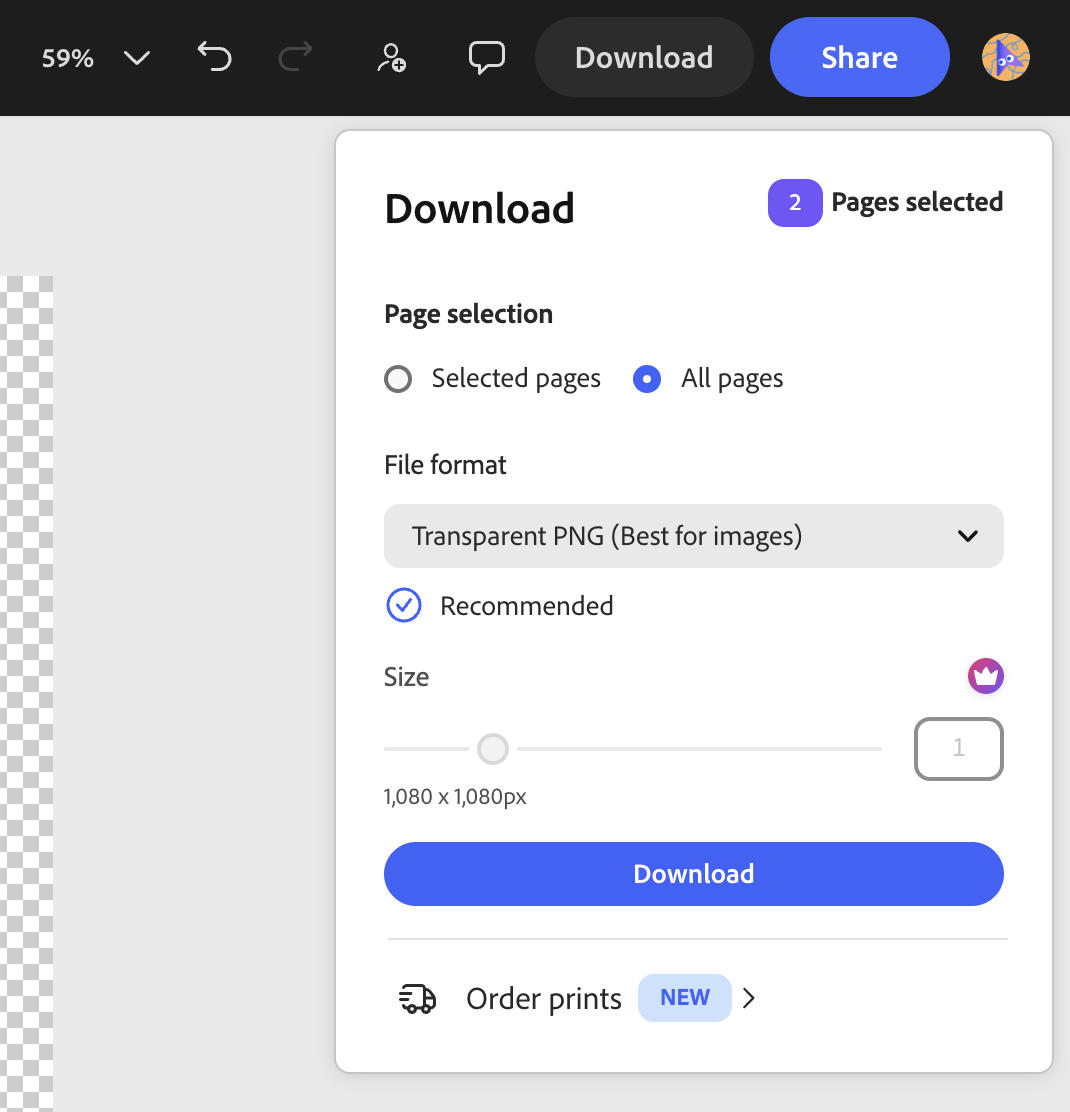
When the "Download" pop-up menu appears, make sure all pages is selected. (This will create a zip file that we will open later. However, if you want to download them separately, you can do that too.) Under "File format" make sure "Transparent PNG" is selected. Then click the blue download button.
Now we are going to open the zip file. (If you downloaded your images separately, you can skip this next step.) Go to your downloads folder and find the zip file. Double click to open it.

Once you open it, it should look something like this.

Now we're going to move into Cricut Design Space. Open a blank canvas. (It doesn't matter if it's a sticker canvas. We are just uploading the images right now. Once you start making your sticker sheets, you'll want to open that kind of canvas.) In the side bar on the left, click on the "Upload" icon. Once the bigger side bar appears, click the green "Upload Image" button.
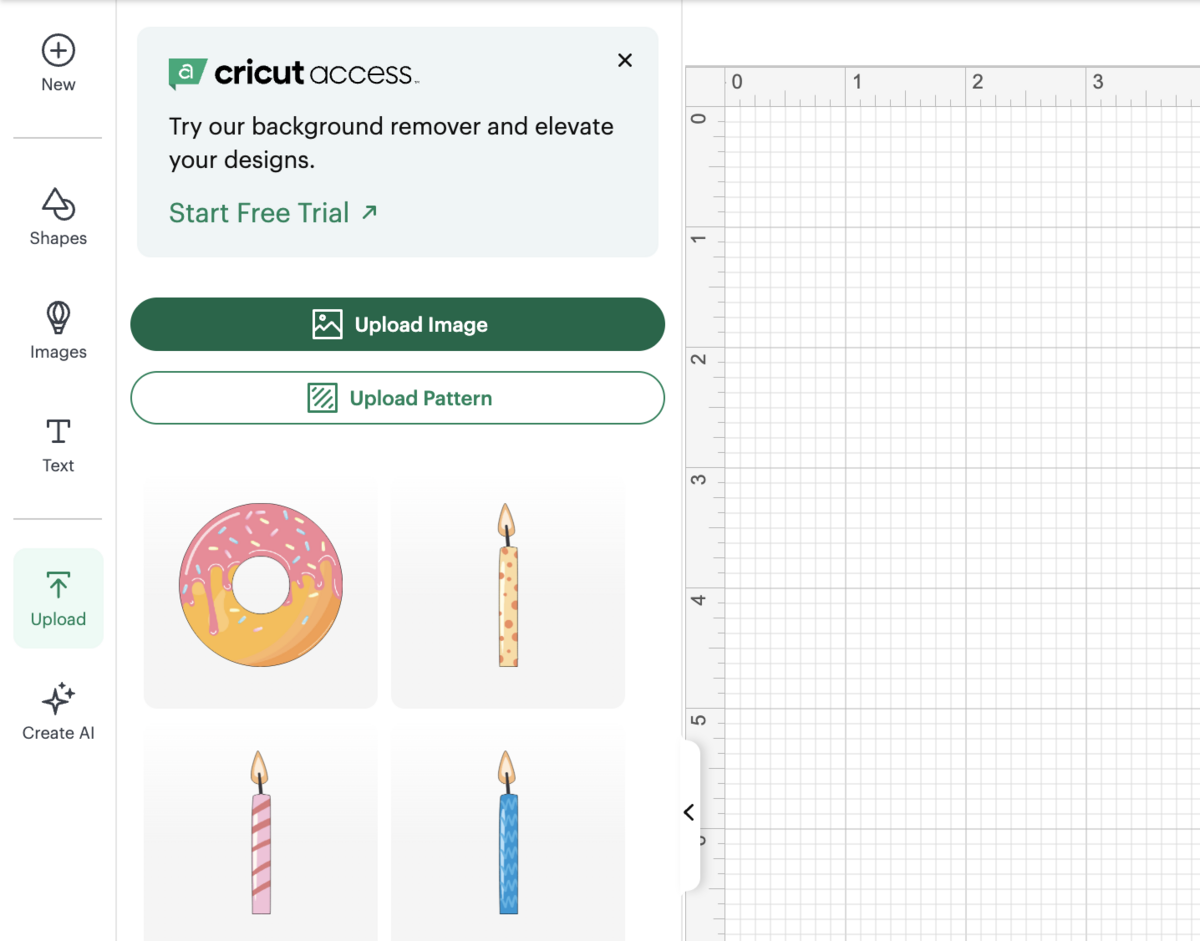
That will bring you to this screen. Click the green "Browse" button.
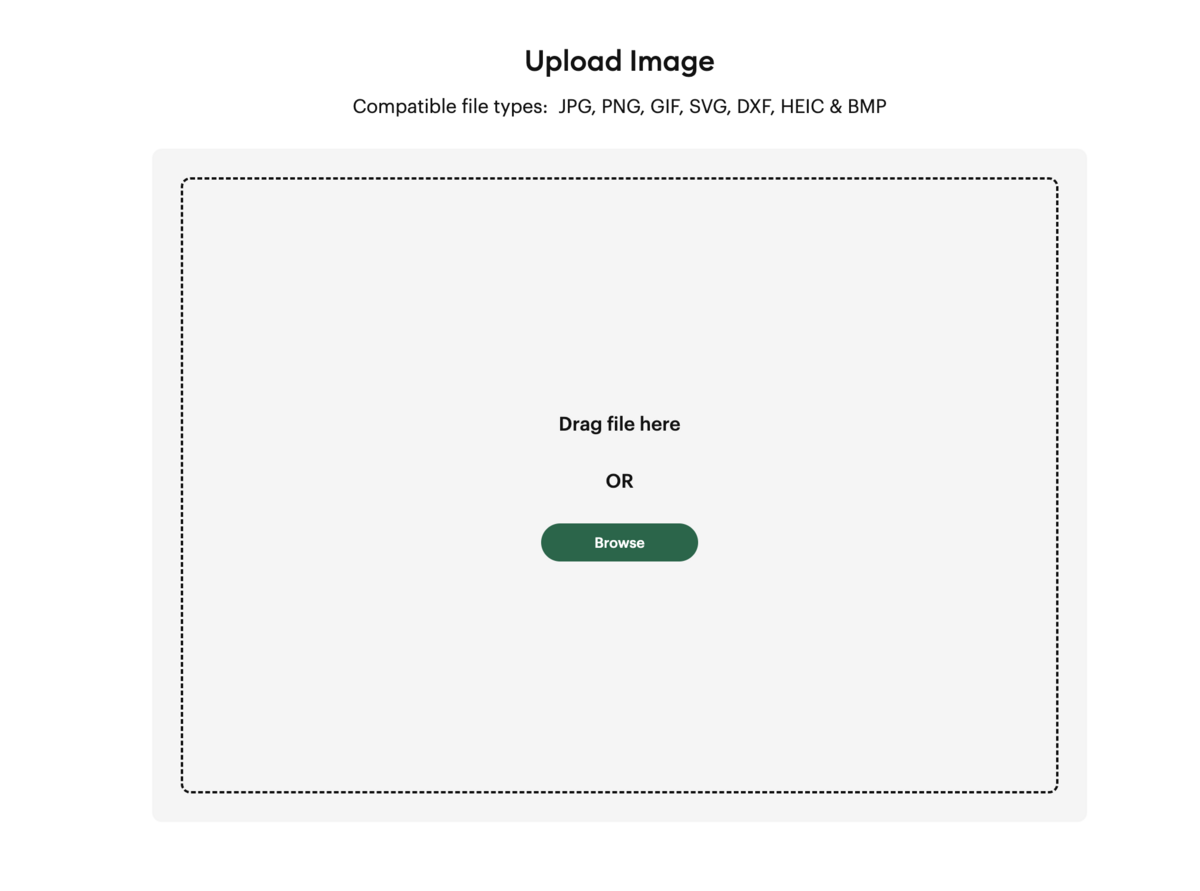
That will bring you to your downloads folder. Select the file you'd like to upload first. Once you do that, your page will look like this. Click the green "Continue" button in the lower left corner.
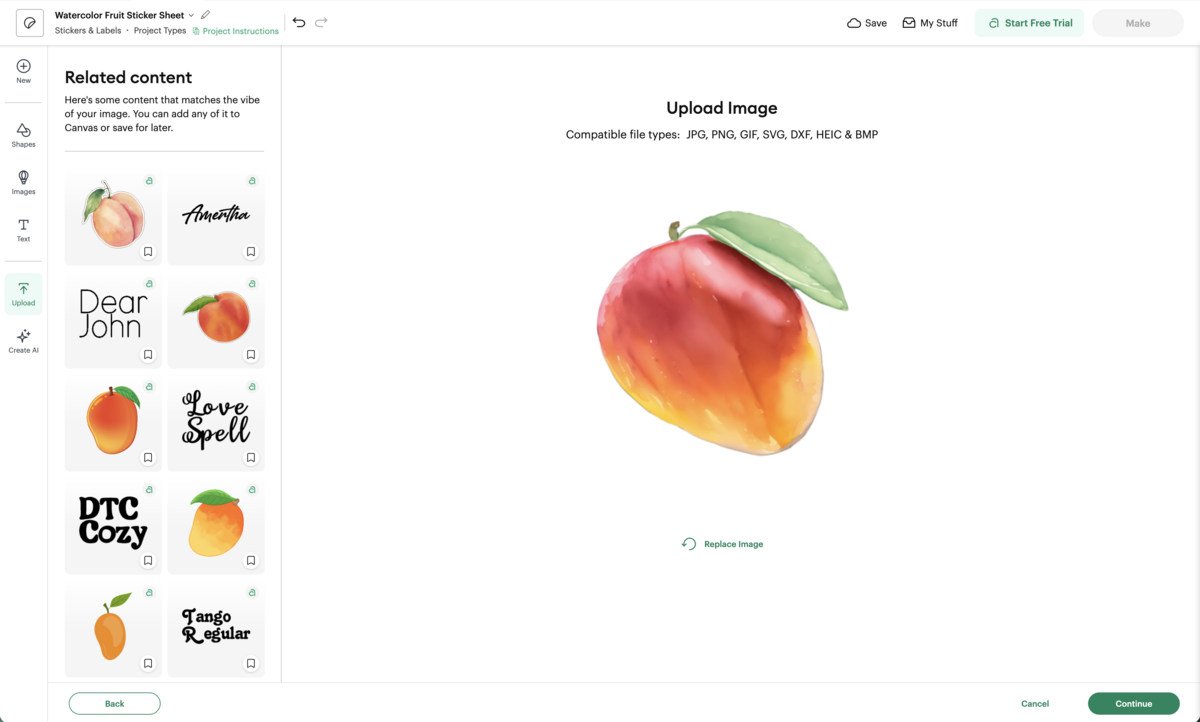
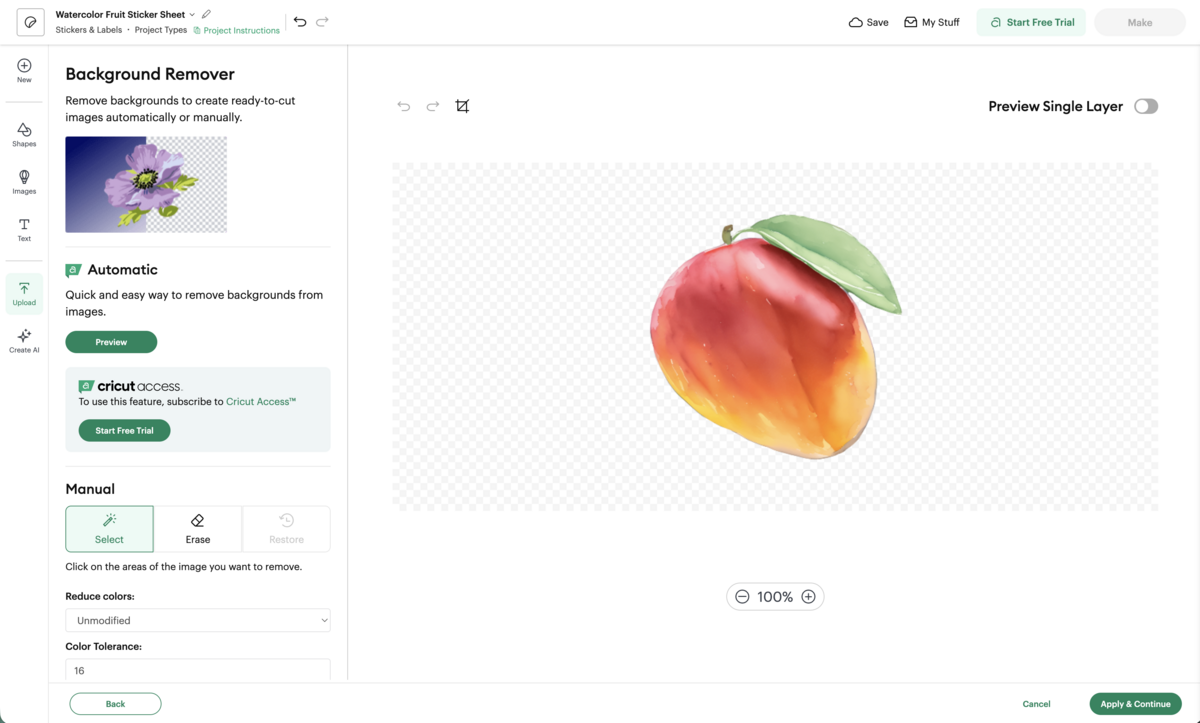
On this next screen you don't have to do anything since we already applied a transparent background to our file. So click "Apply & Continue".
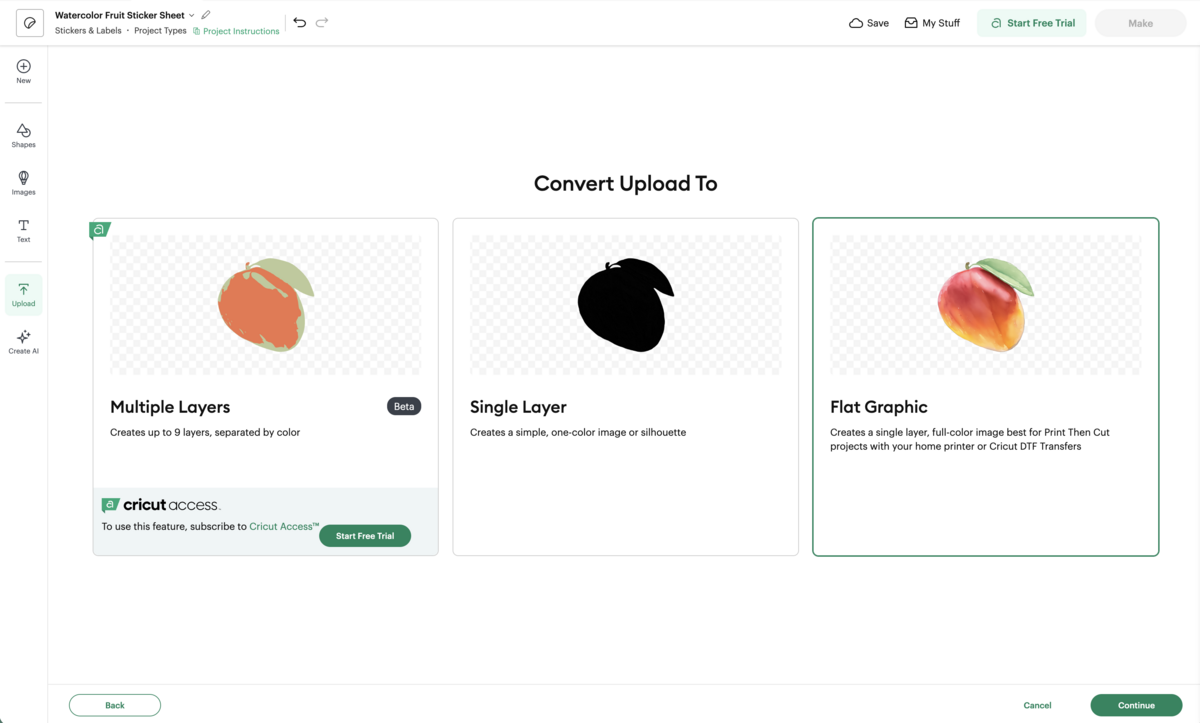
Here, select "Flat Graphic" and then "Continue".
Now we're going to name our image, add tags (optional), and add it to any collections you may want to add it to. Once you've done this, click "Upload".
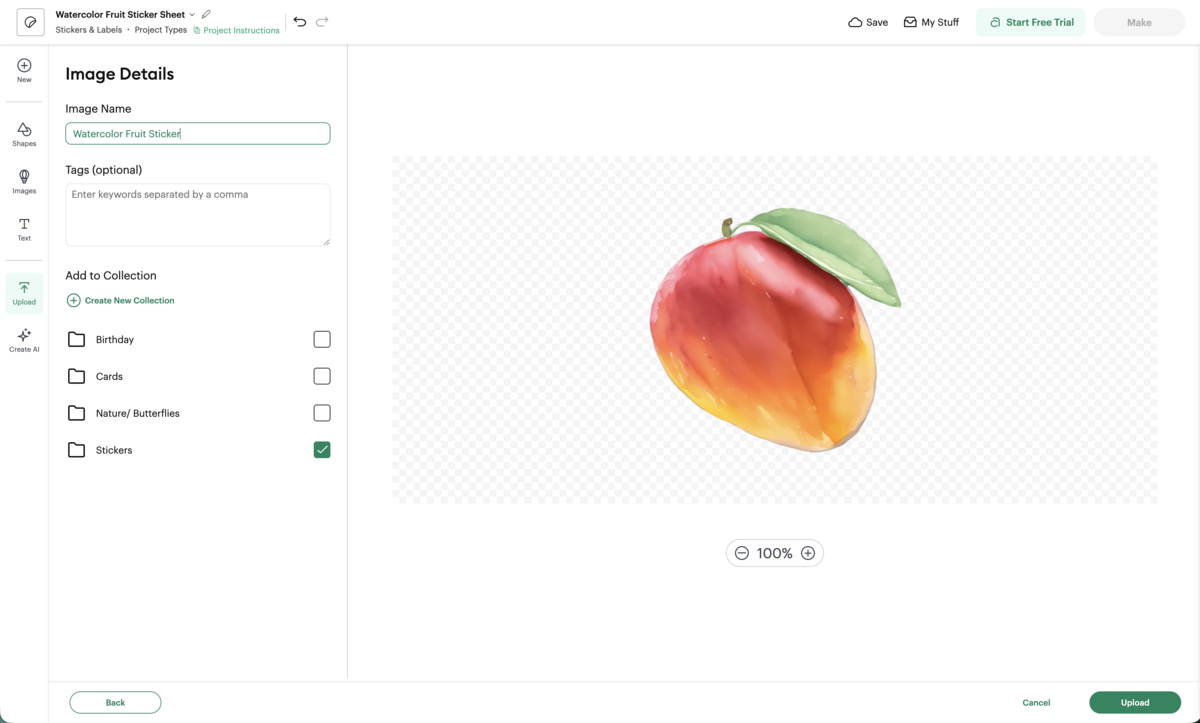
Tada! You've uploaded your first image!
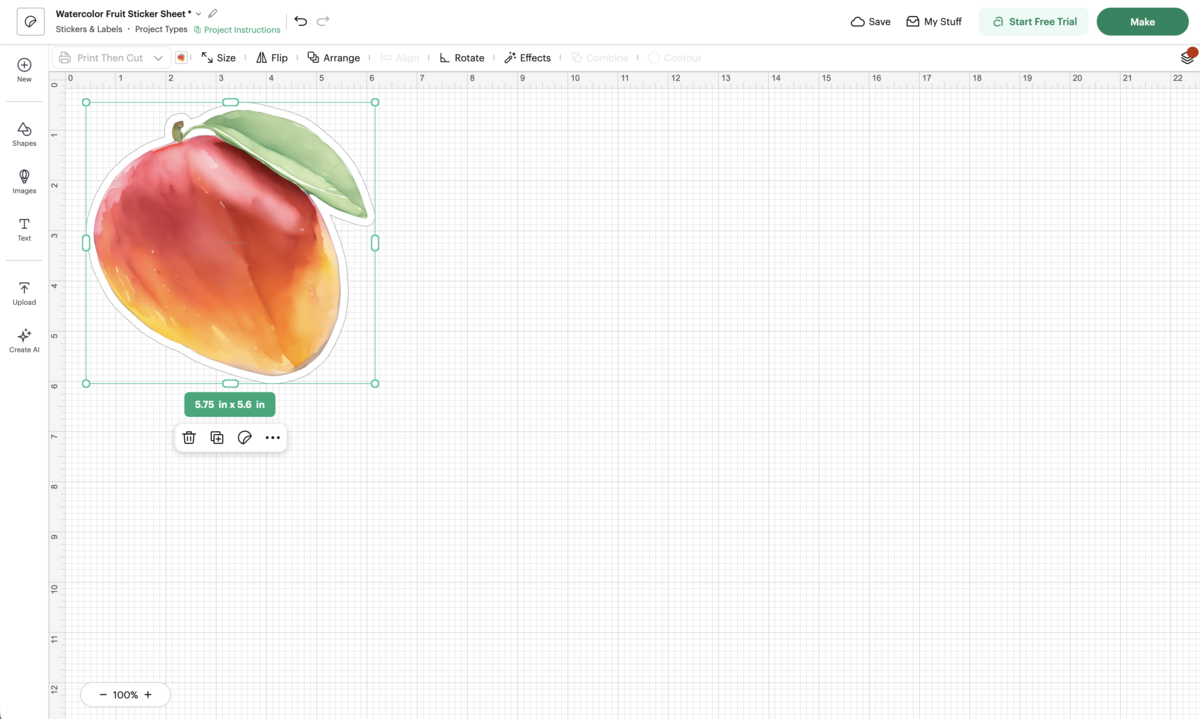
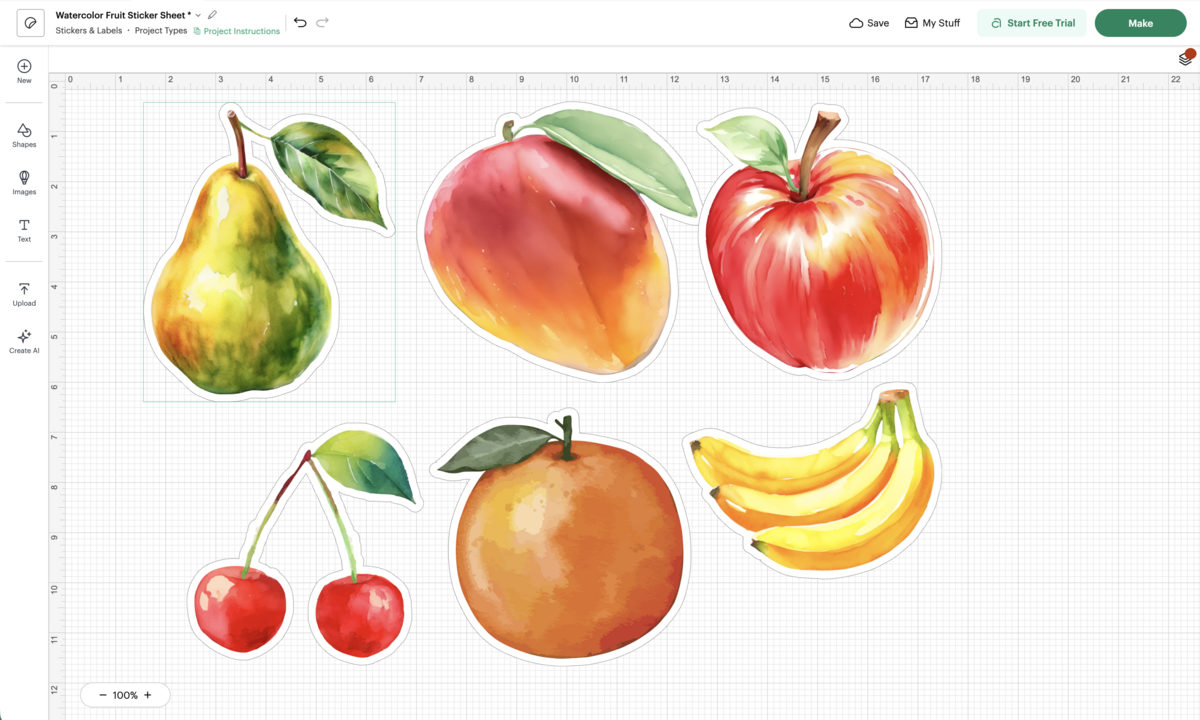
Continue uploading till you've uploaded all of your images. You do not need to open a new canvas for each one. Just continue clicking the "Upload" button in this current file.
Whenever you want to access these images from a different file, all you have to do is click the "Upload" button and all your uploaded images should be there.
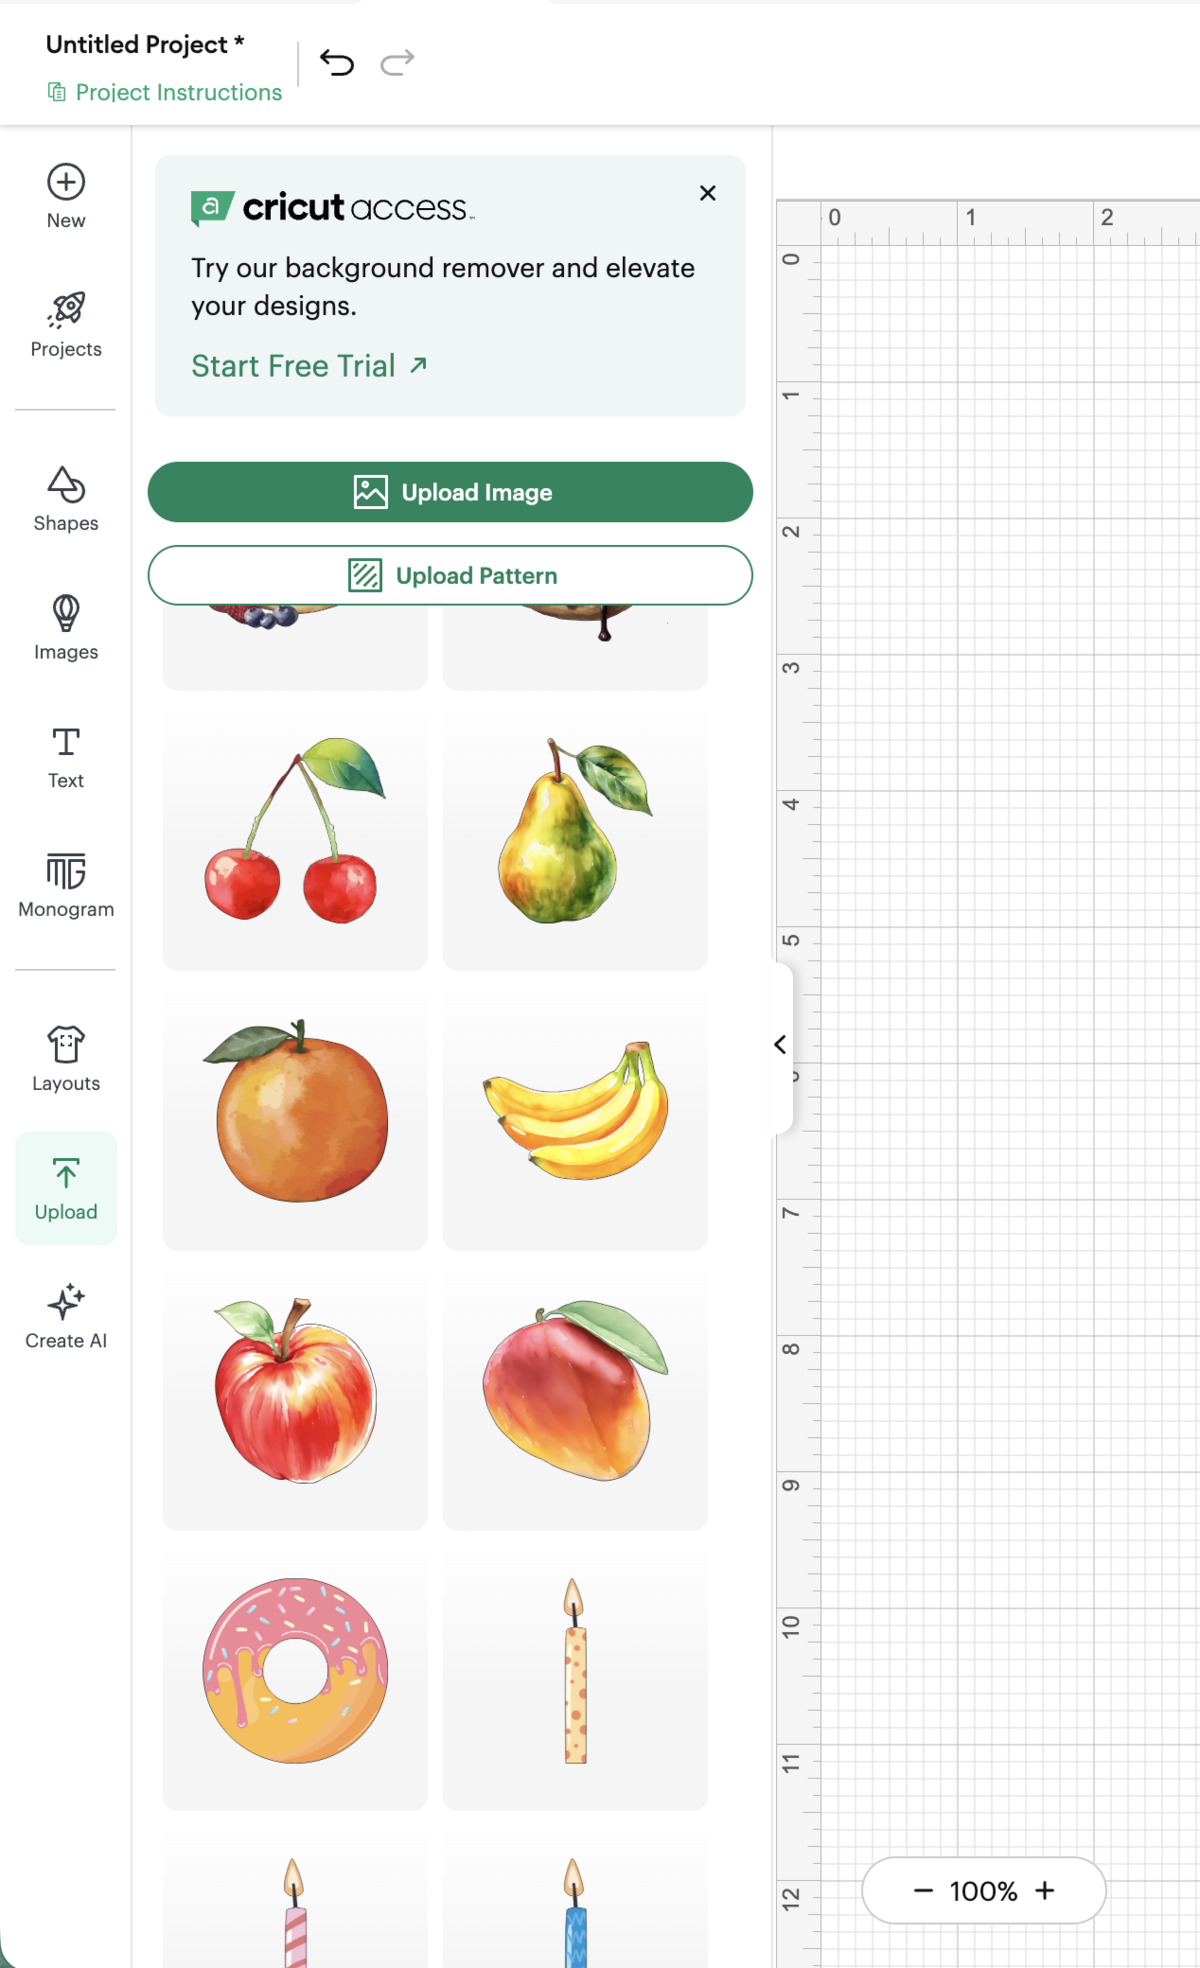
Congratulations! That may have seemed like a lot of work, but once you get the hang of it, you can repeat these steps to upload your own images into Cricut Design Space in no time!
To make the full sticker sheet, I used this tutorial from Craft With Felicia.
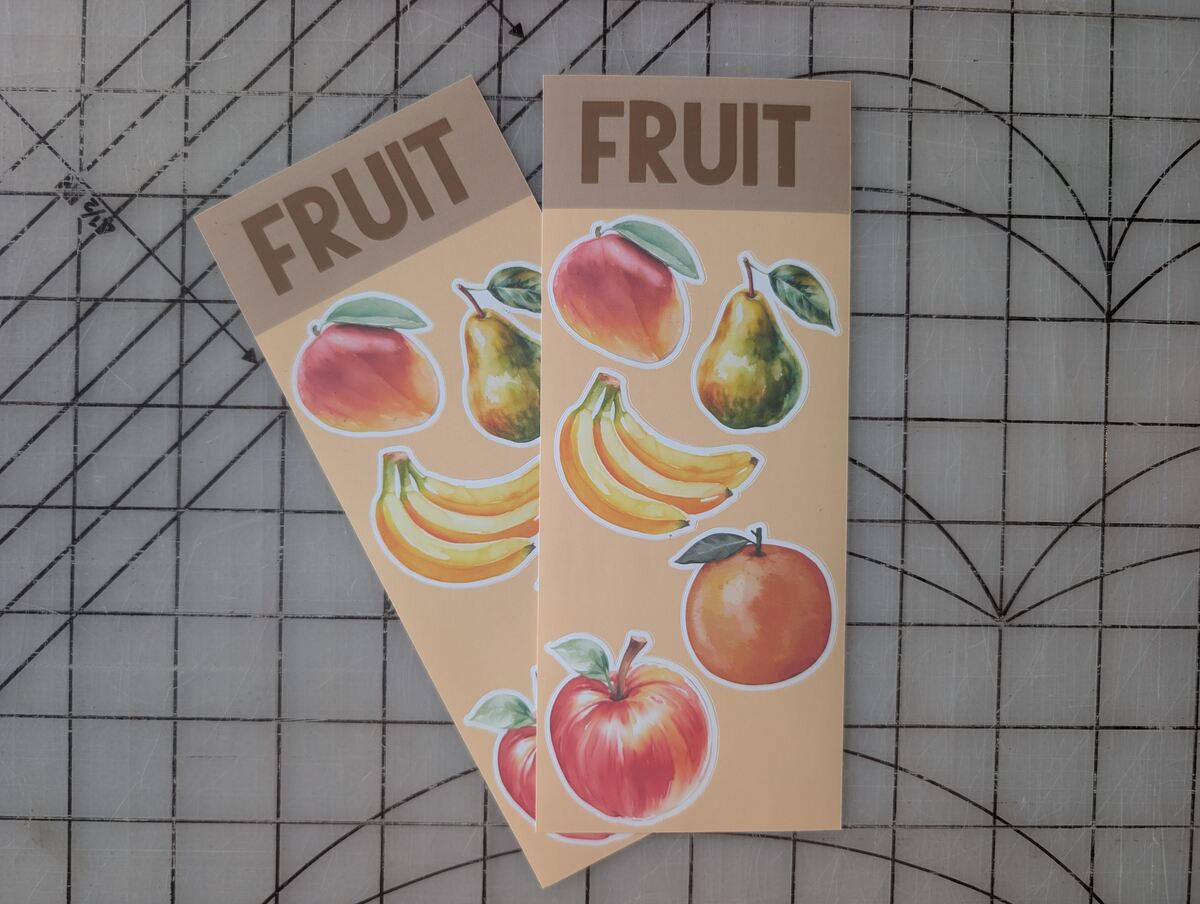
Here are my finished sticker sheets. I've made so many now and can officially say I'm obsessed!
Happy crafting!