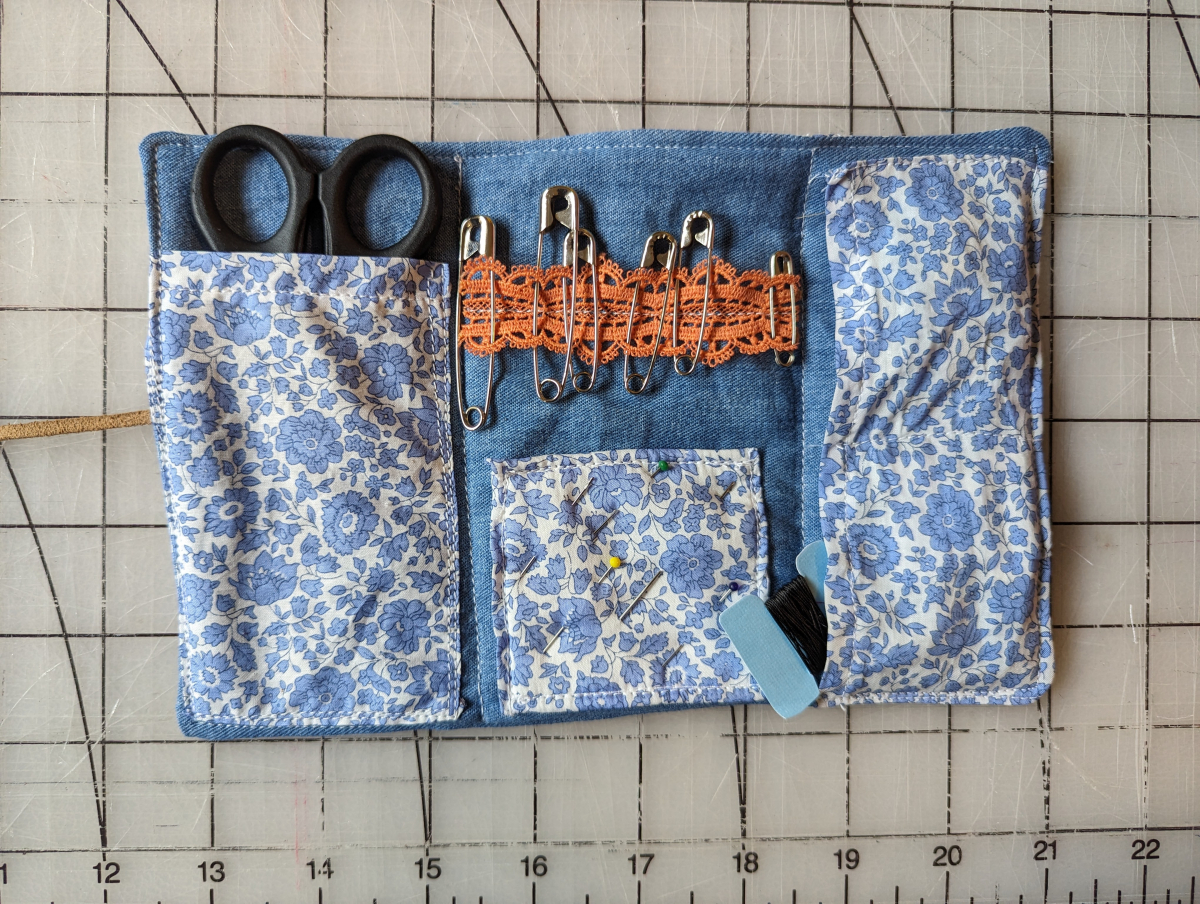
Hello! Today I am back with another sewing project for you, a travel sewing kit. When traveling, accidents can happen, which is why I always bring a sewing kit with me. I haven't had to use it many times, but knowing it is there if I need it is nice. An extra bonus is that this is a super quick project that makes great gifts for the travelers in your life. Scroll to the bottom of this post for a free paper thread spool template.
Let’s get started!
You will need:
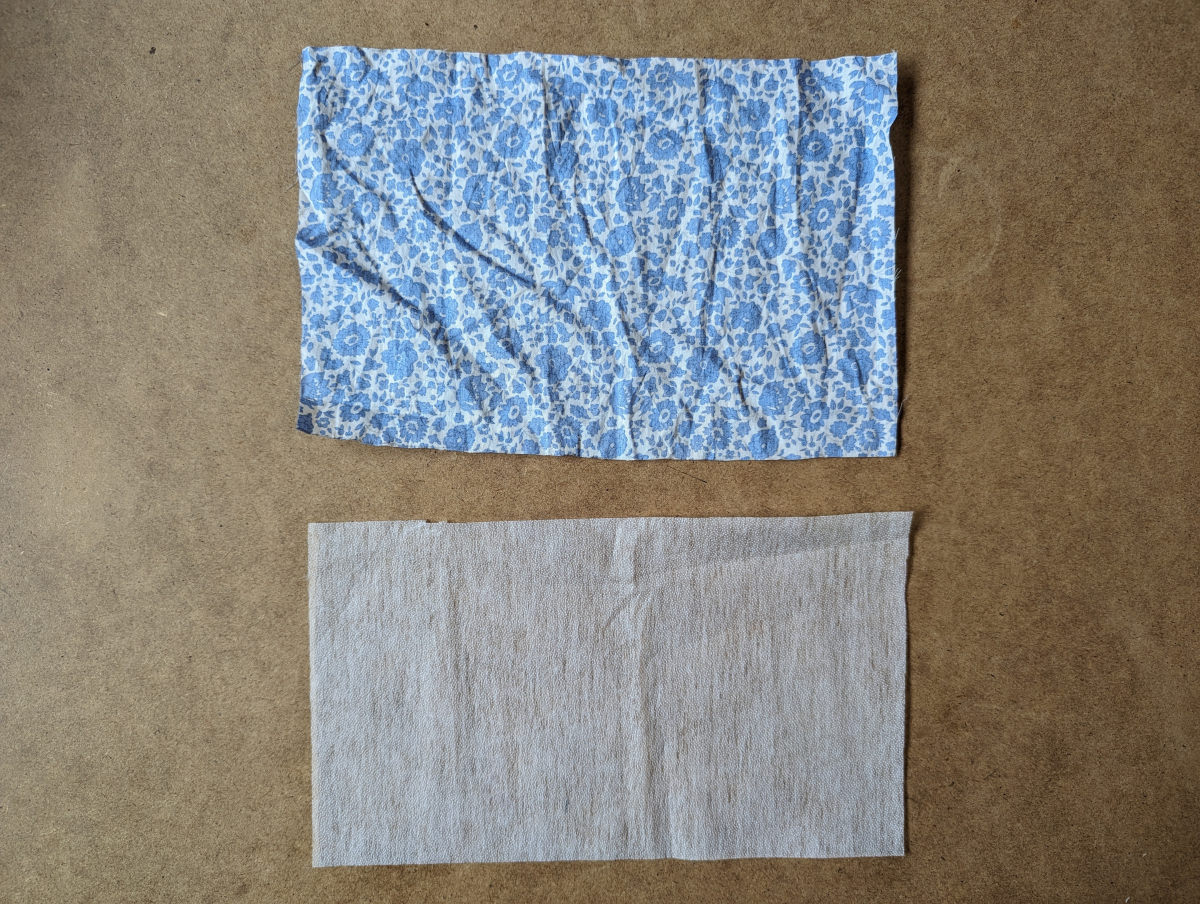
- An outer fabric, I chose to use a floral print
- An inner fabric, I used a contrasting solid
- Fabric for the pockets
- A piece of felt
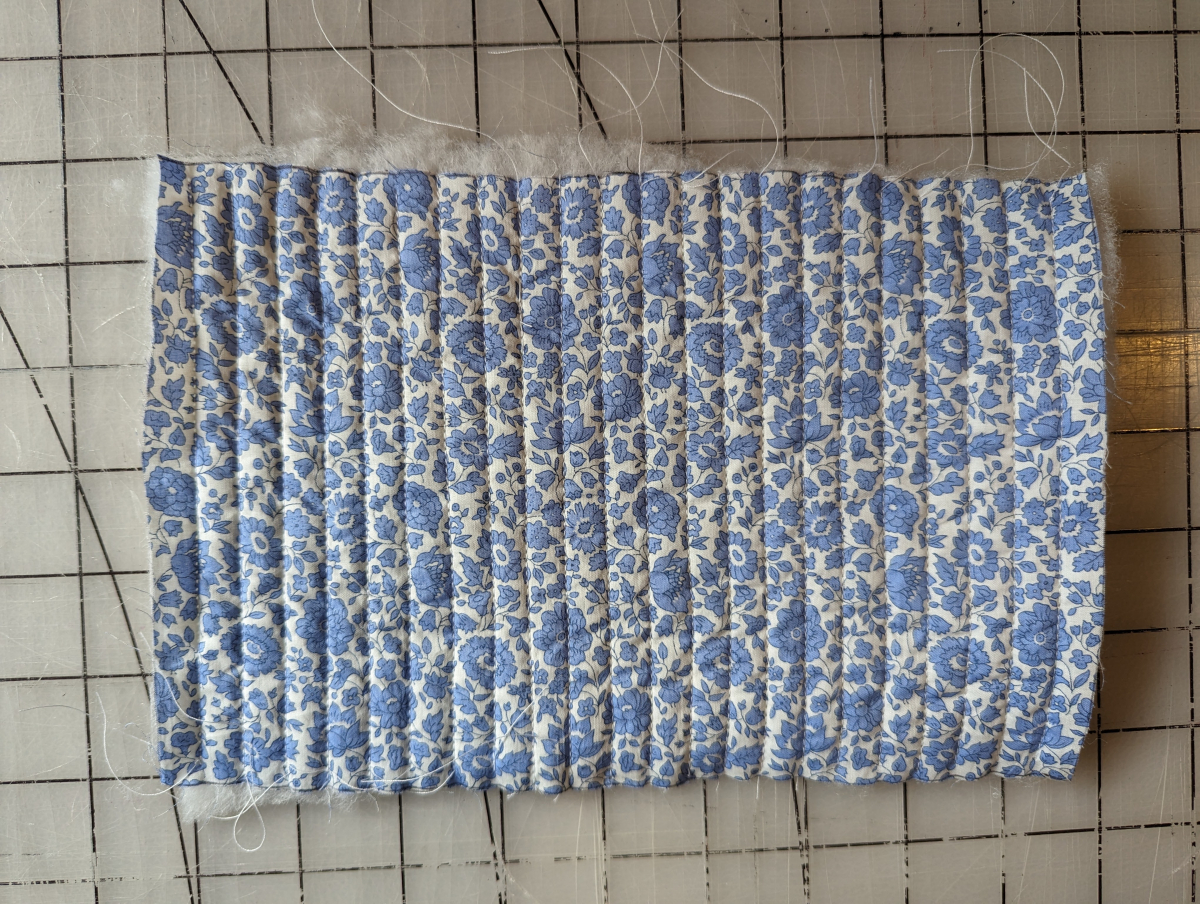
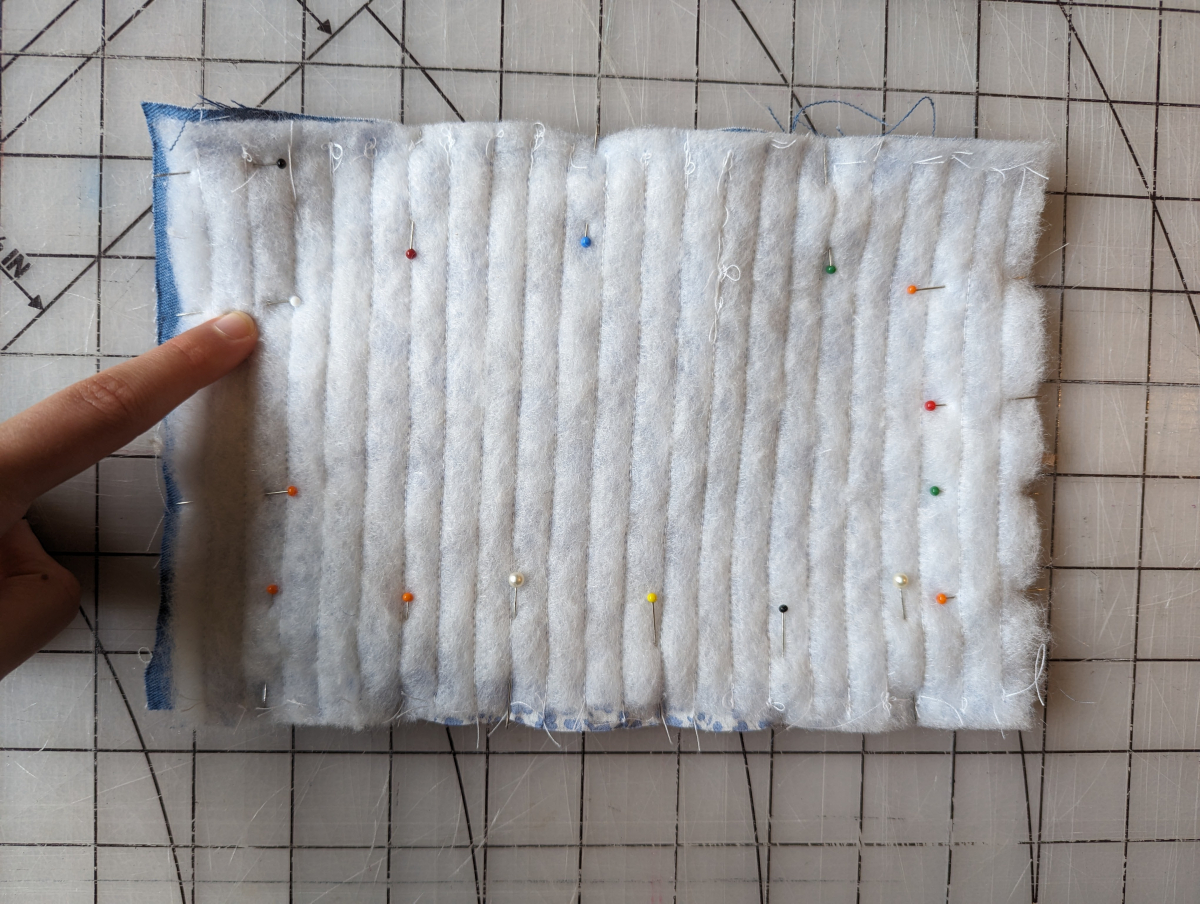
- Batting
- Interfacing and an iron
- Lace or ribbon
- And some type of string or leather cord or something for the ties
Cut your pieces:
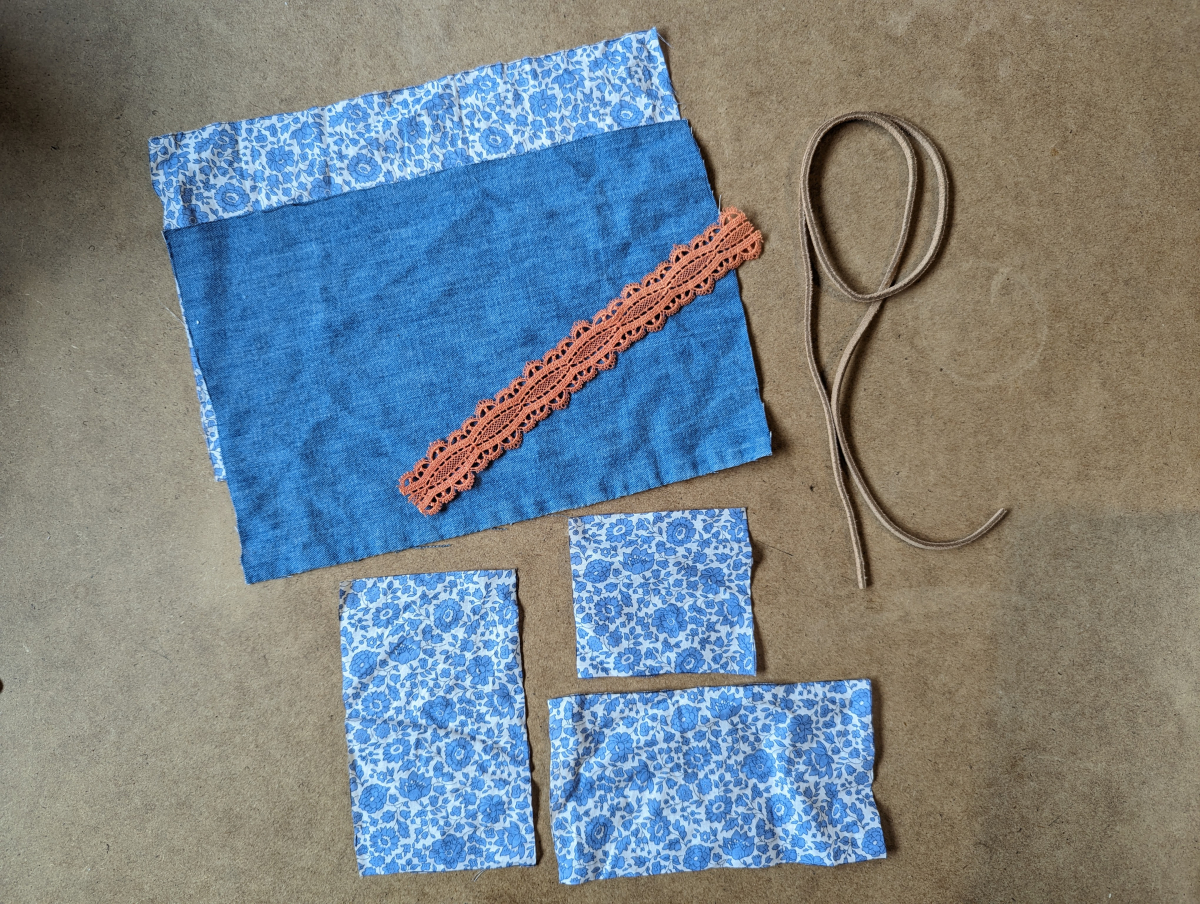
- 2, 8 ½ by 5 ½ inch pieces of fabric, one piece of batting, and one piece of interfacing*
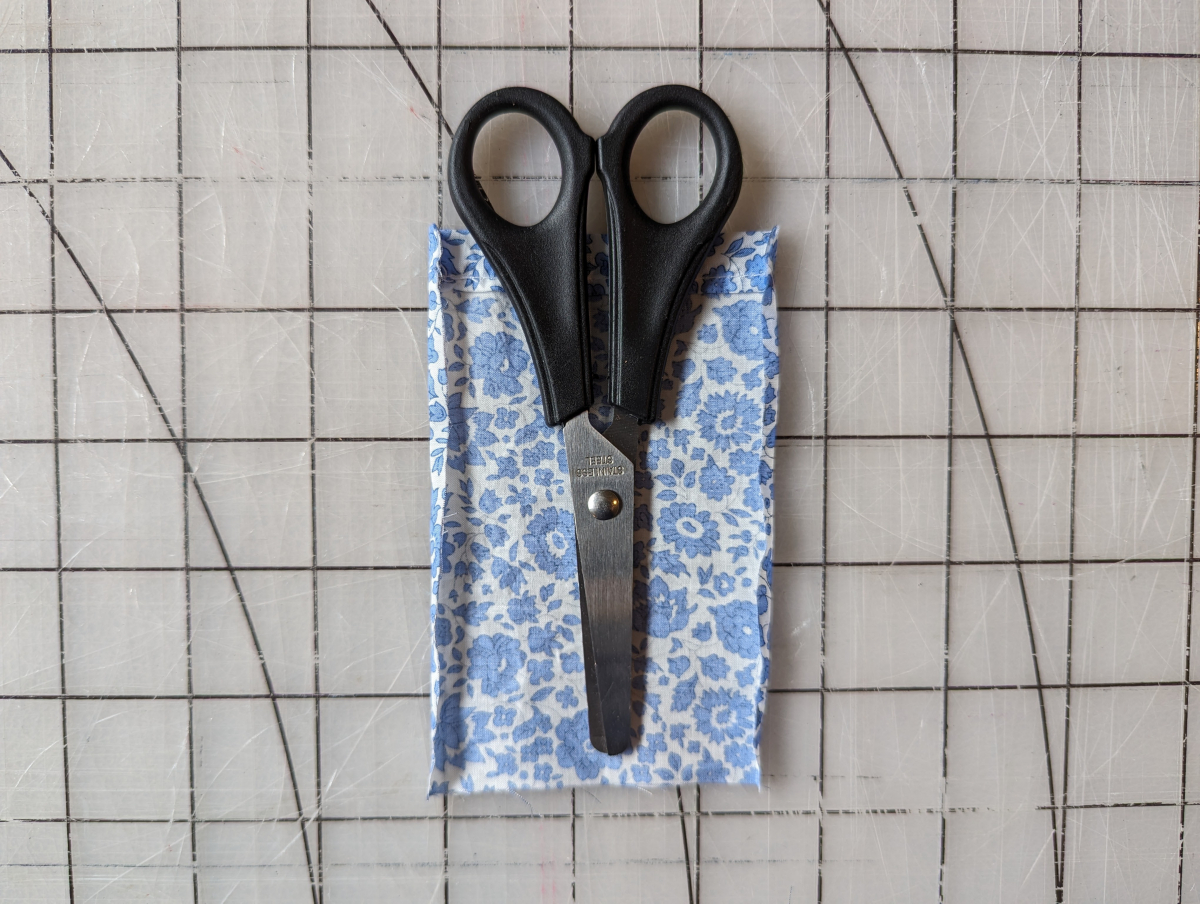
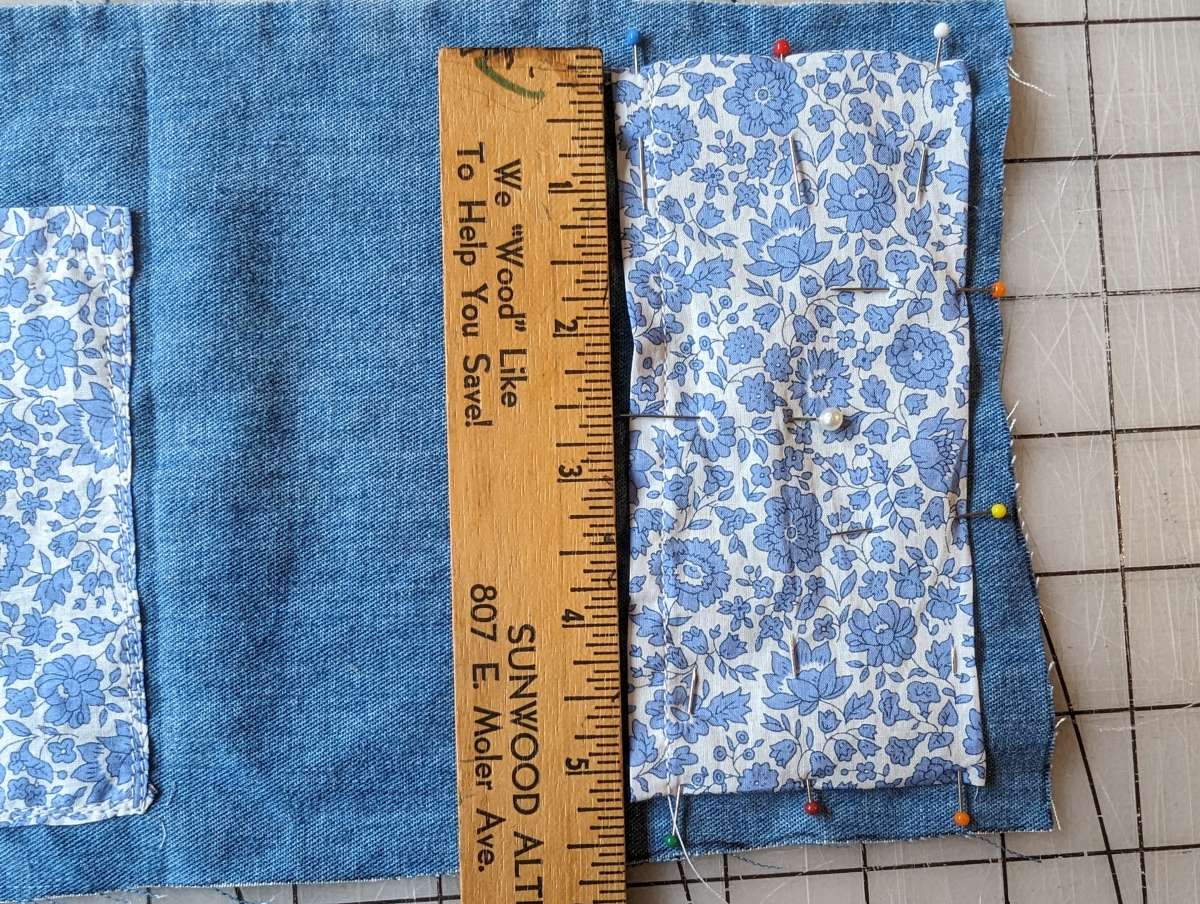
- A 2 ½ by 4 ½ inch piece of fabric*
- A 2 ½ by 5 inch piece of fabric*
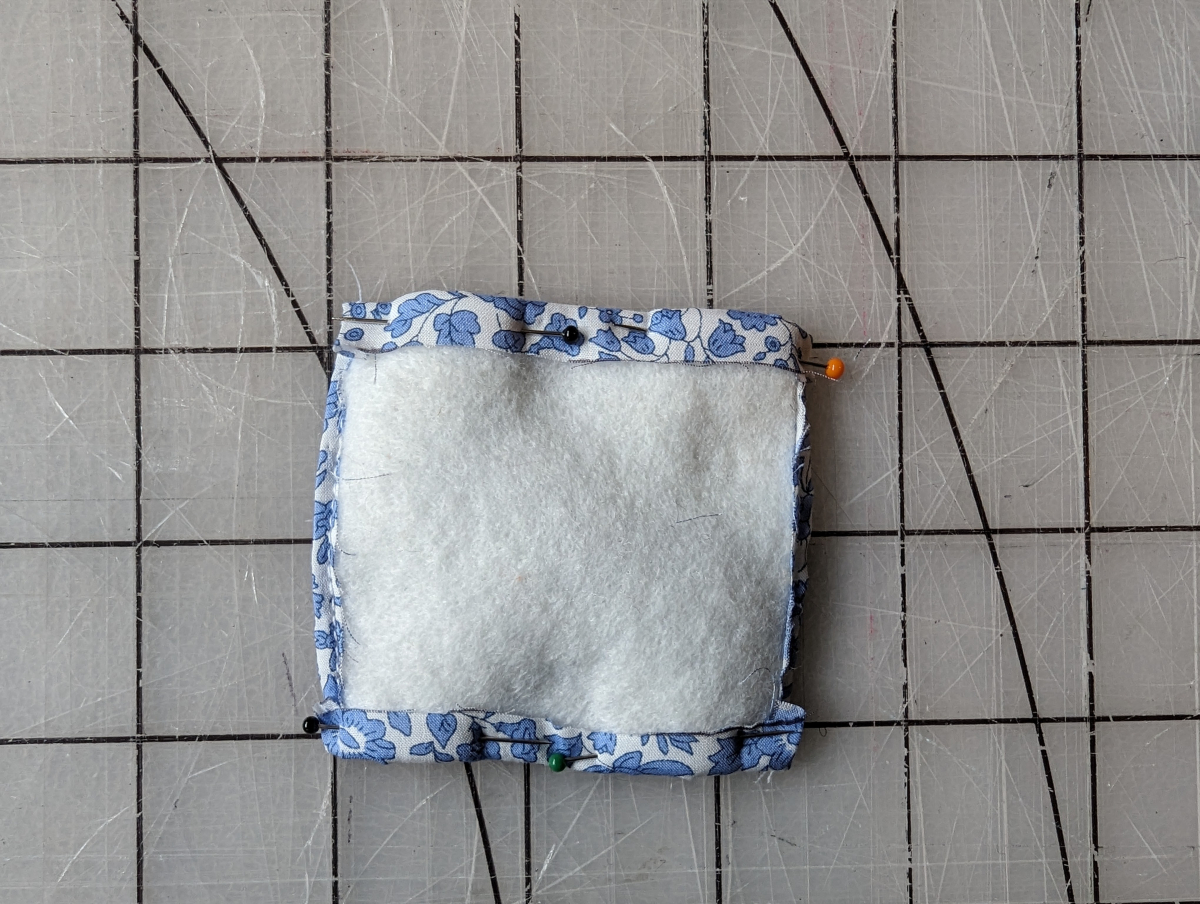
- A 2 ¼ by 2 ¼ piece of felt
- A 3 inch piece of ¾ - 1 inch piece of lace or ribbon
- And one or two (depending on the closure you prefer) pieces of the string of your choice to tie your kit closed
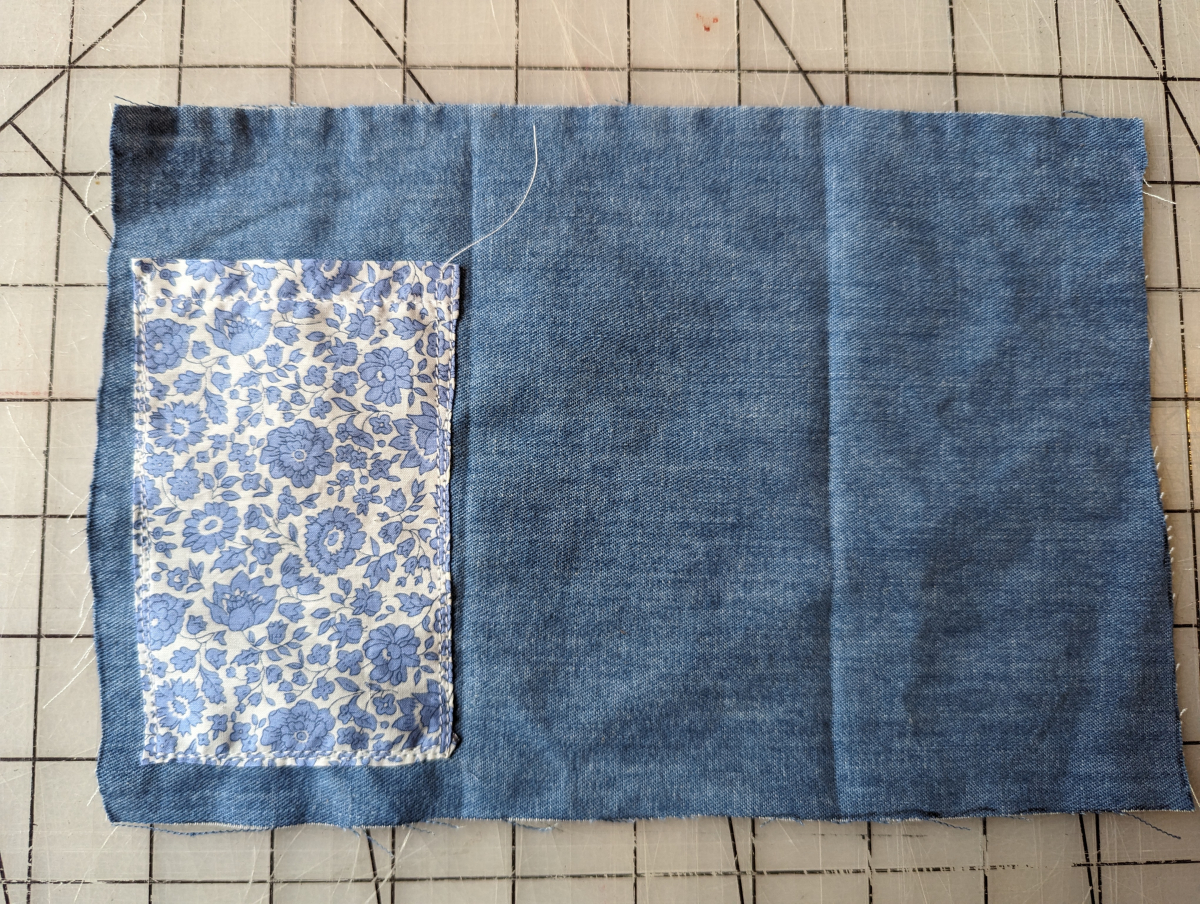
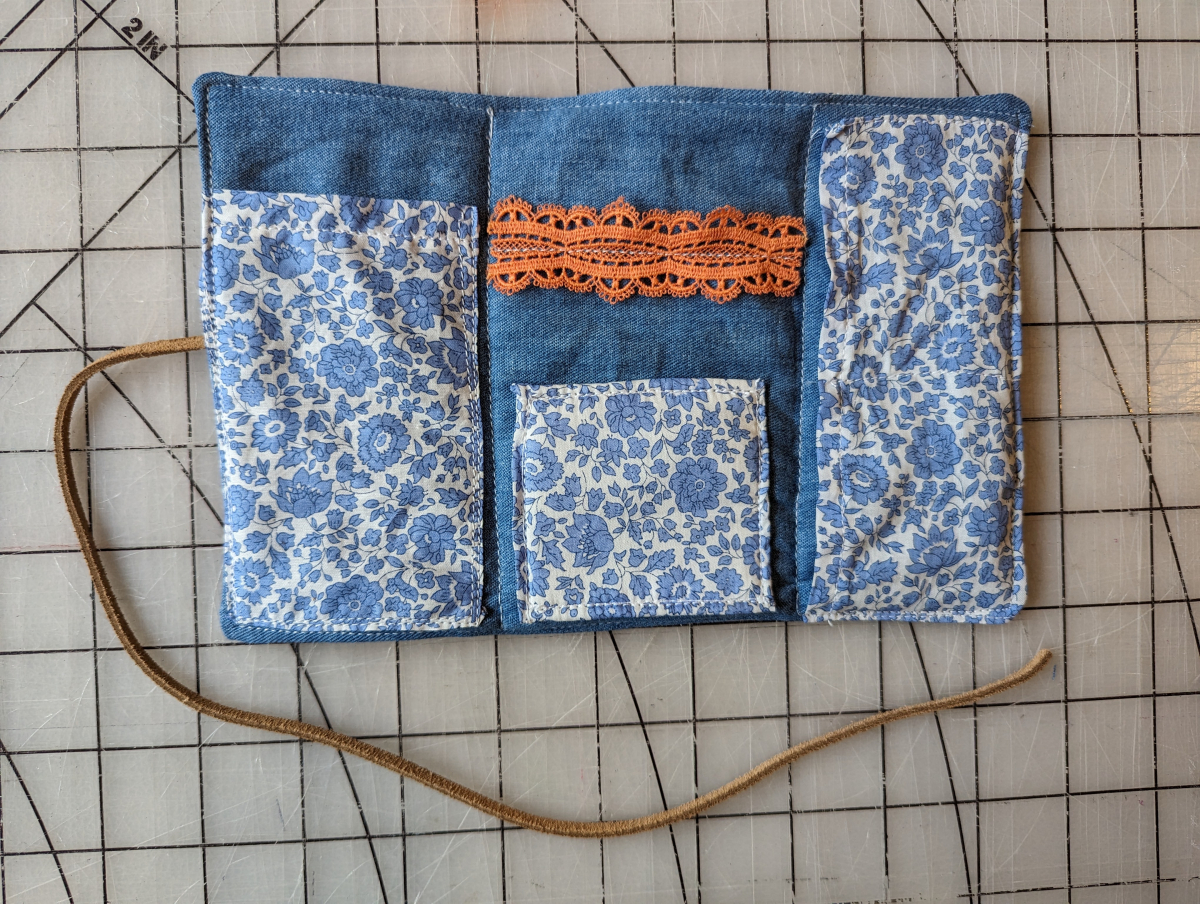
*I used a floral fabric for the outside and pockets with a solid as the main inside fabric. You can do the same or the opposite or make the whole thing out of the same fabric. It’s totally up to you!
Now it’s time to start sewing!
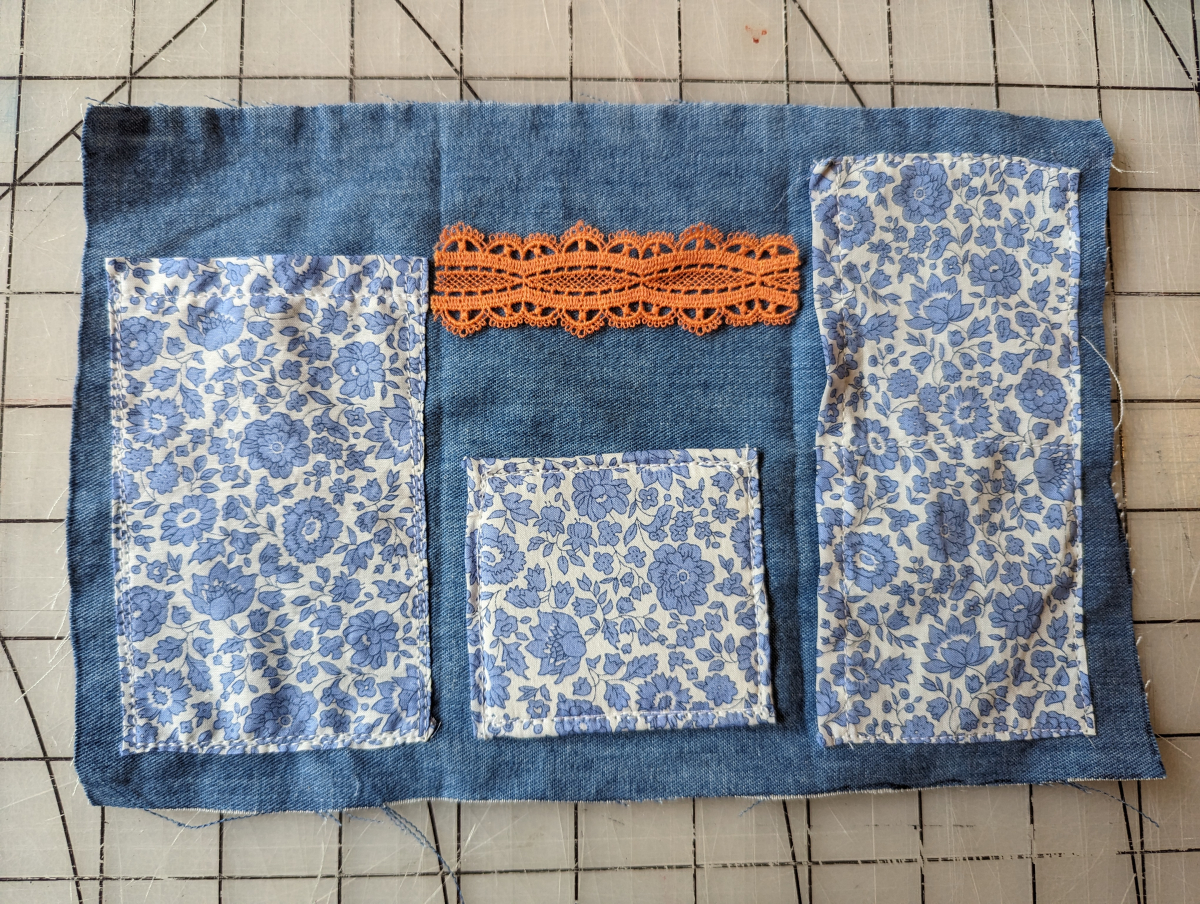
Line up your lace or ribbon on the top part of the middle panel and sew down the middle.
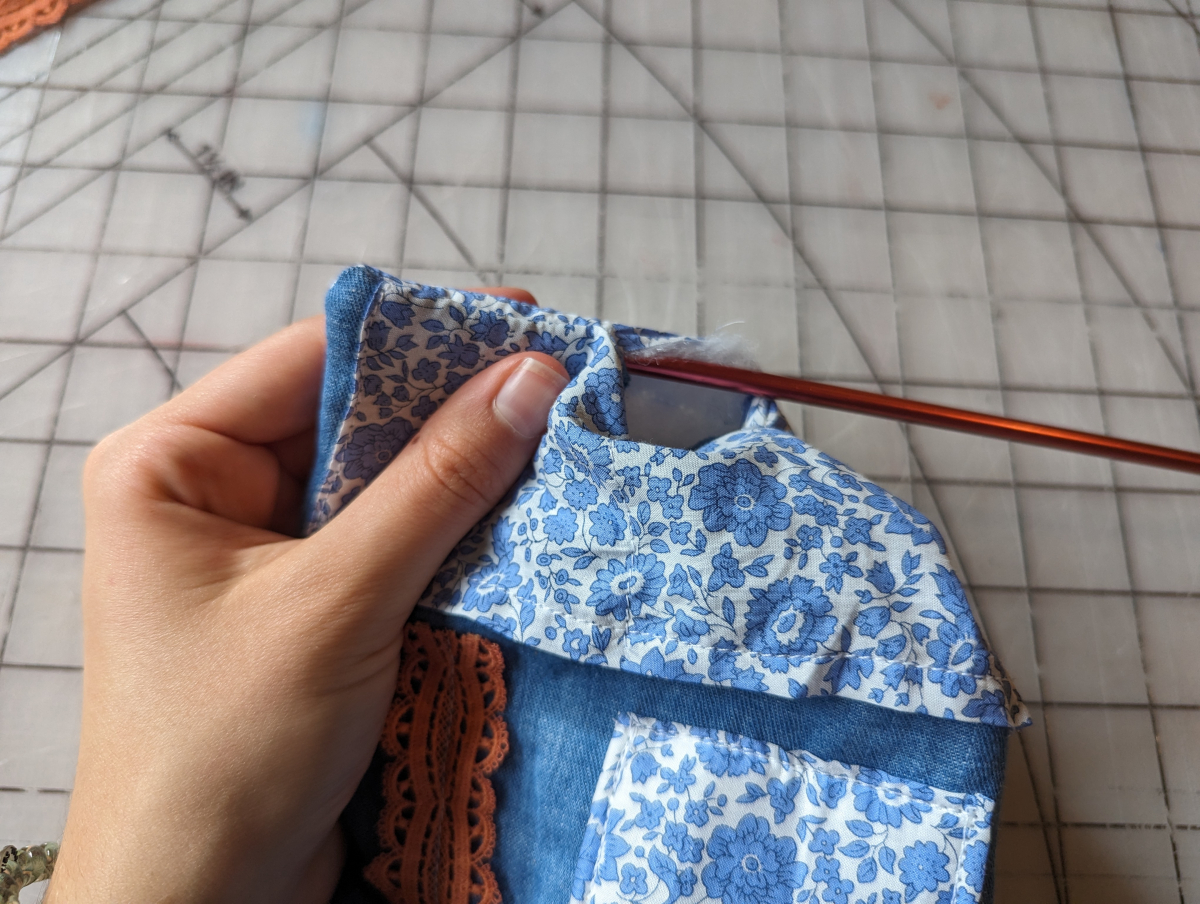
Now you’re ready to sew the front and back pieces together!
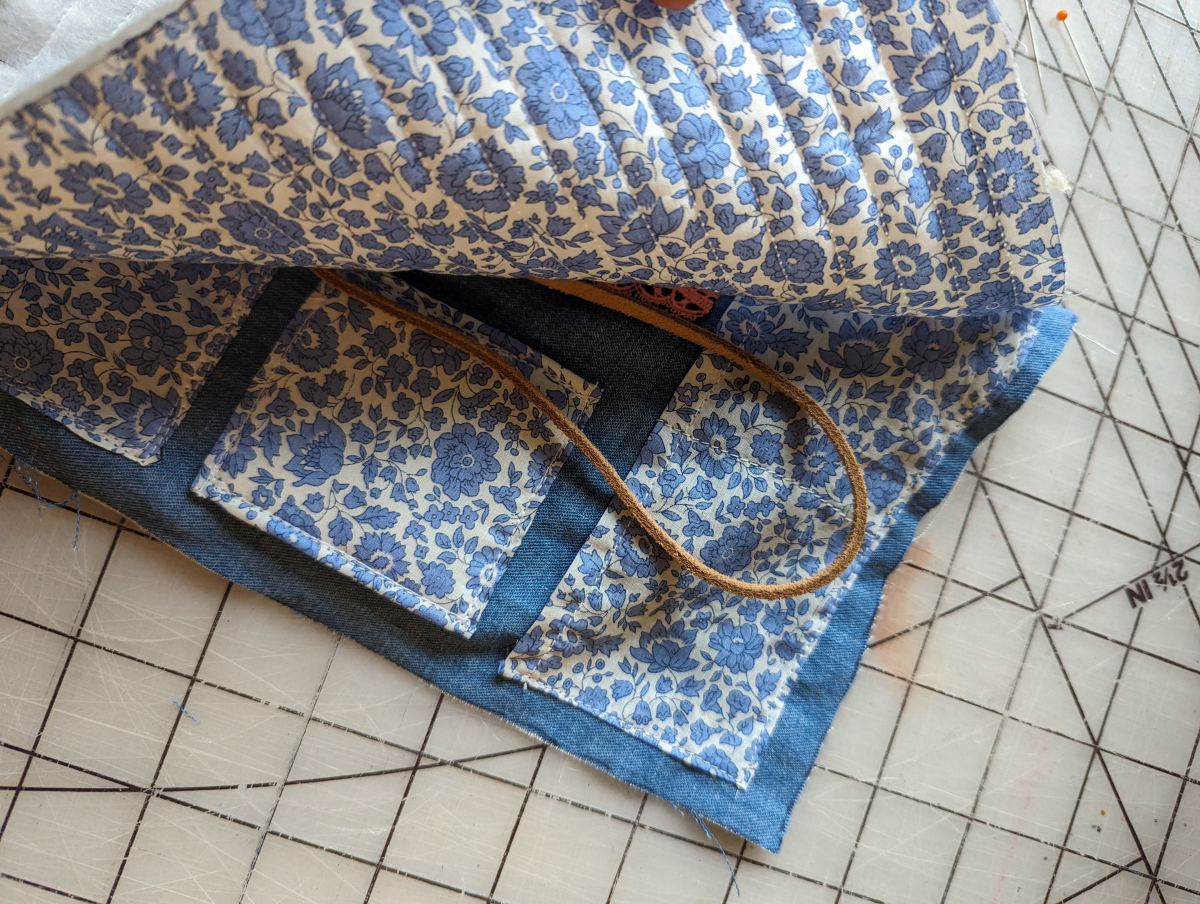
Note: I try not to leave the opening where the tie is, rather leave it on the opposite side.
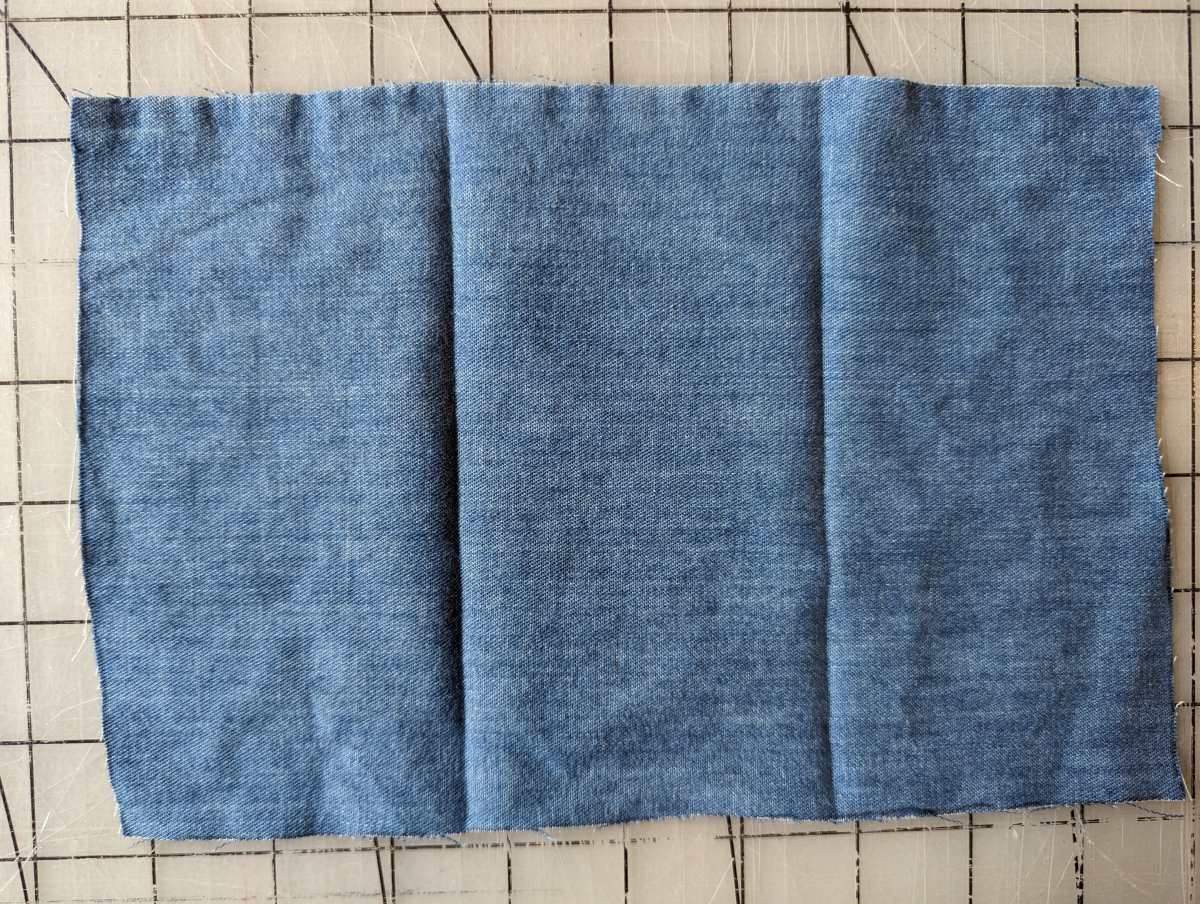
If you wish you can sew two lines along the creases that you made in the inner fabric earlier.
And that’s it!
Click here to download a free paper thread spool template. Simply print and cut them out. (I like to use cardstock so that they last longer.) Then wrap a nice amount of your favorite colored threads around them and slip them in!
Happy Sewing!