Hi friends!
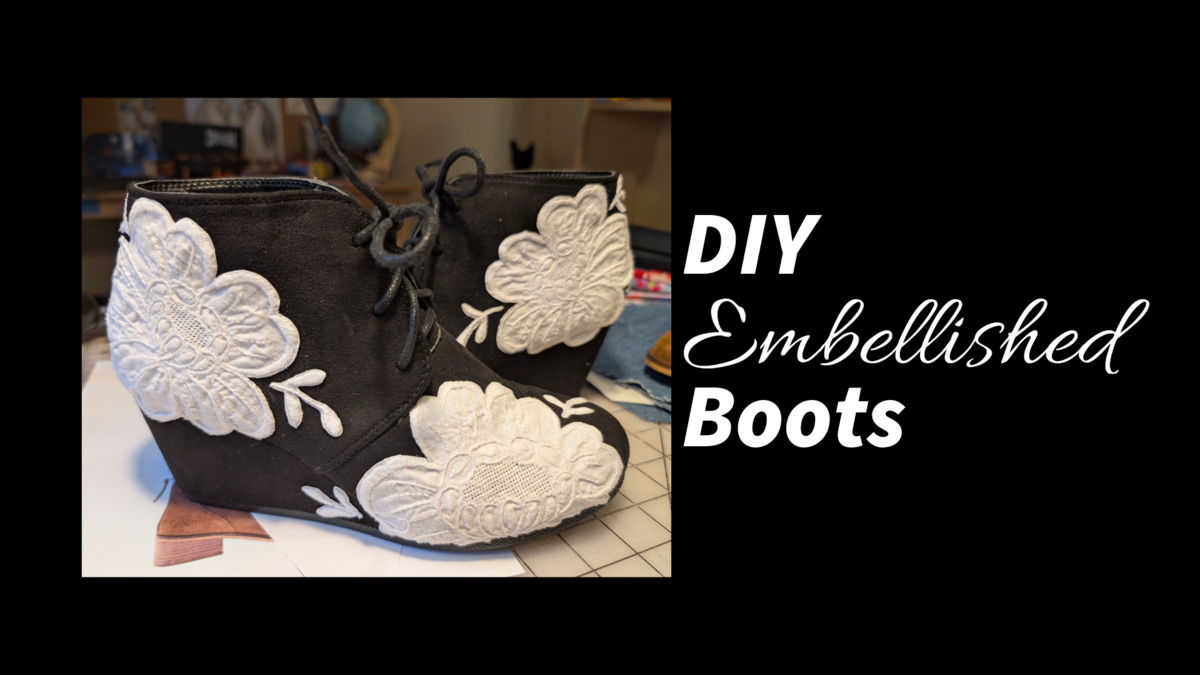
Today I’m sharing a pair of shoes I DIYed lately and a tutorial for how I did it!
Let’s get going!
First things first, I bought the boots I used from ThredUp. I like to buy used for three reasons:
- Because all of the shoe DIYs I do are total experiments.
- I’m not going to damage nice shoes.
- They’re often cheaper than using brand new ones.
So that being said, the first thing you have to do is choose your shoes.
Next I spent quite a lot of time trying to figure out what to do with them. I finally settled on some embroidered pieces from an old table cloth. I think patches would also be a fun addition instead of, or, as well as the embroidered pieces.
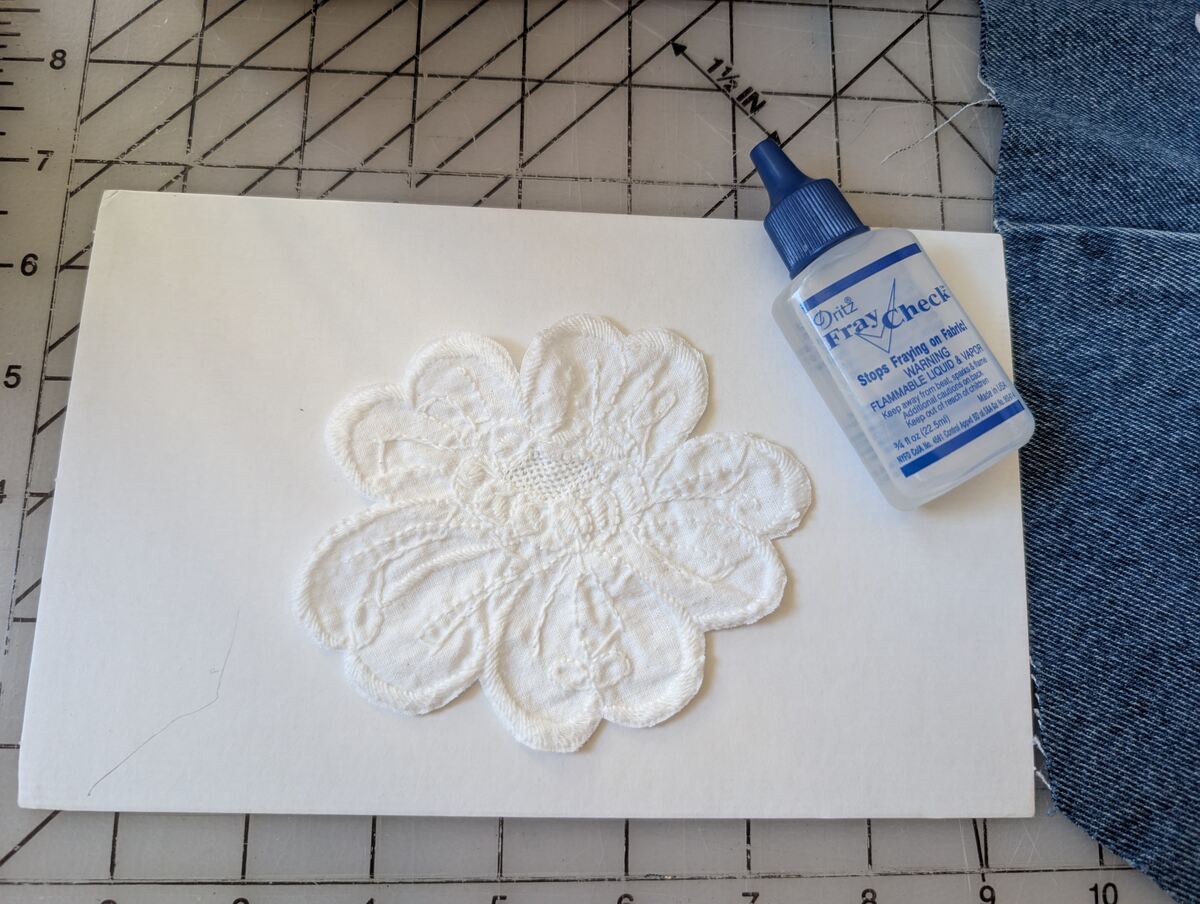
I cut carefully around each piece and applied Fray Check to the edges so they didn’t fray.
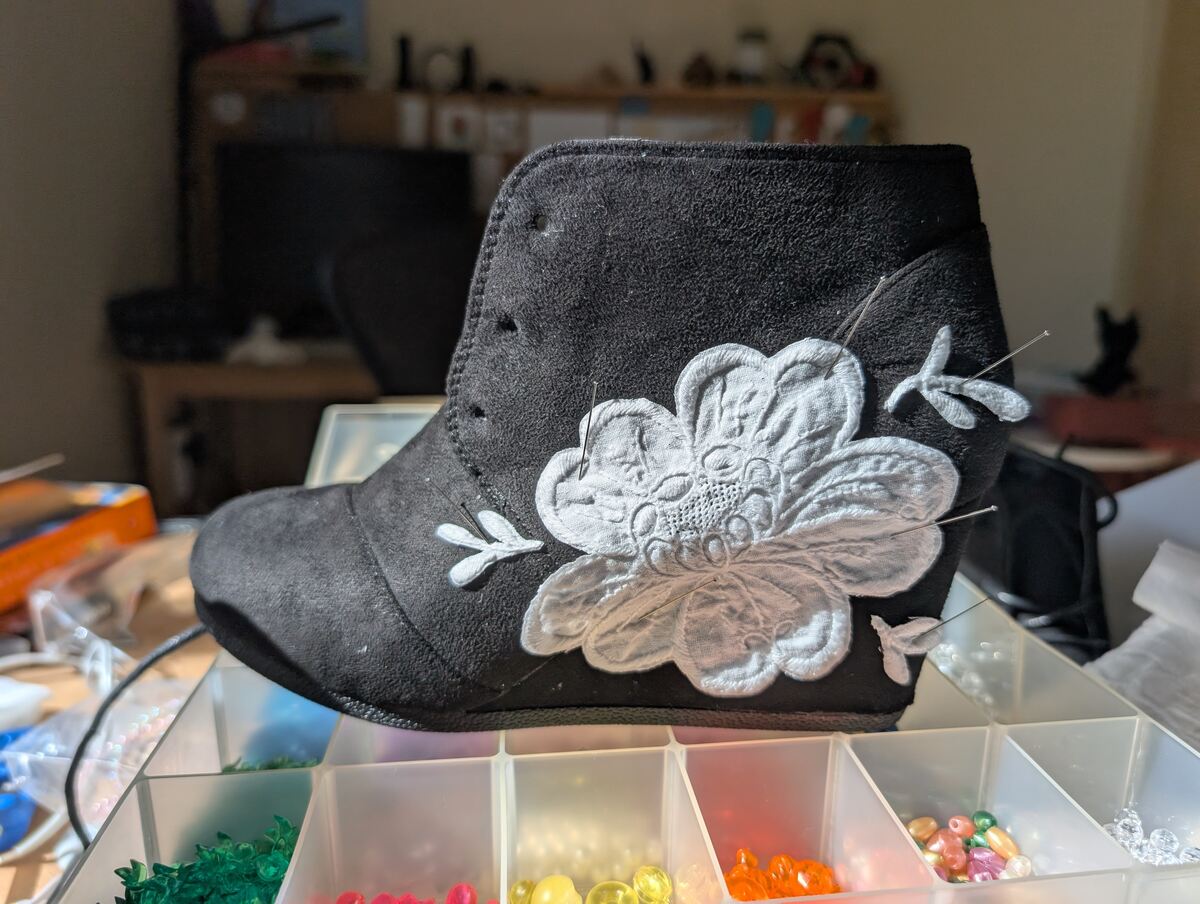
At this point I recommend pinning the pieces on your shoes to make sure you’re happy with how they look and to decide positioning.
Next I used some fabric glue to apply the flowers. After much research I determined fabric glue was the best option (as opposed to hot glue or another kind of glue) because it stays flexible even after it’s dry. If you’re working with boots like I was, I highly recommend choosing a more flexible option as boots often need to be able to move. I used this glue.
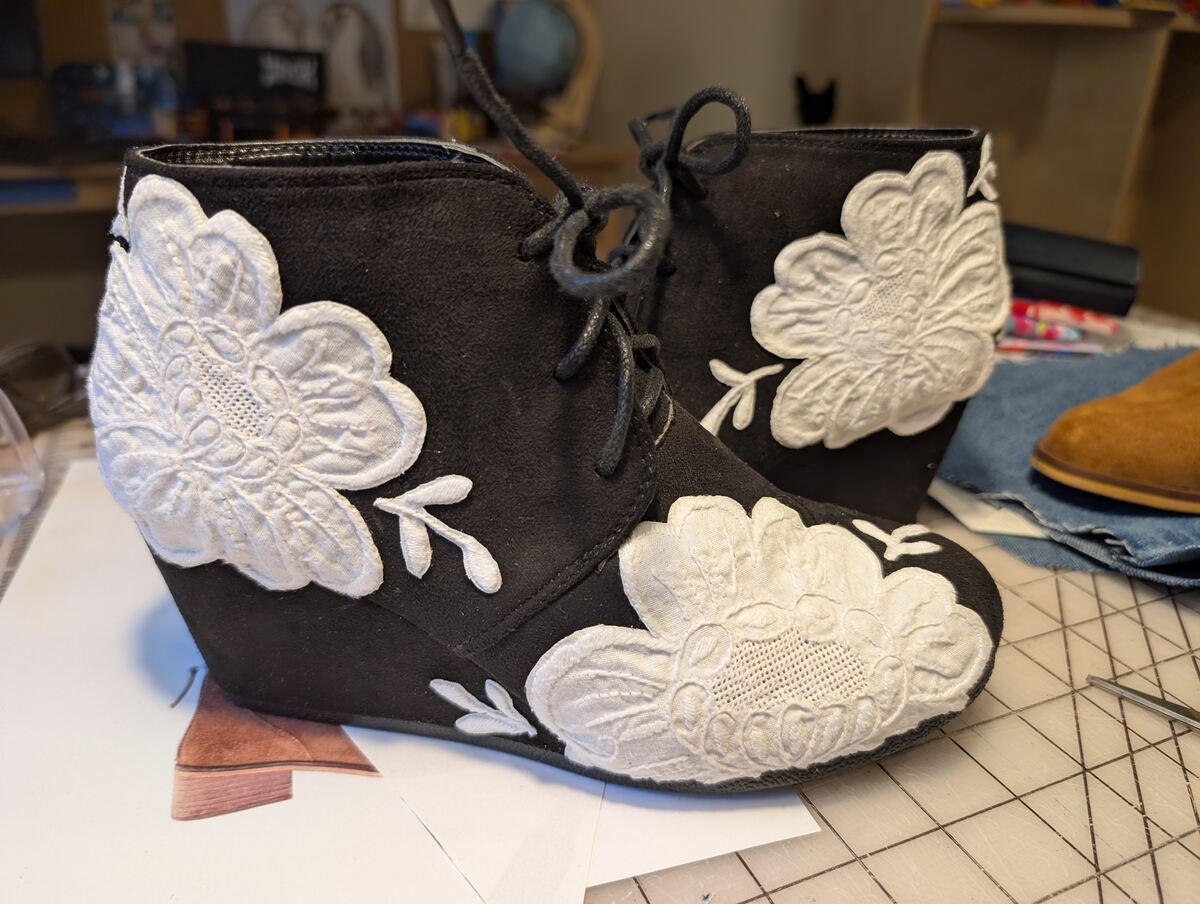
Let the glue dry and there you go!
You just DIYed your very own unique shoes!
Enjoy and happy crafting!