Hi friends!
Today I'm sharing a DIY art tool I made not that long ago. It has made my art making so much easier!
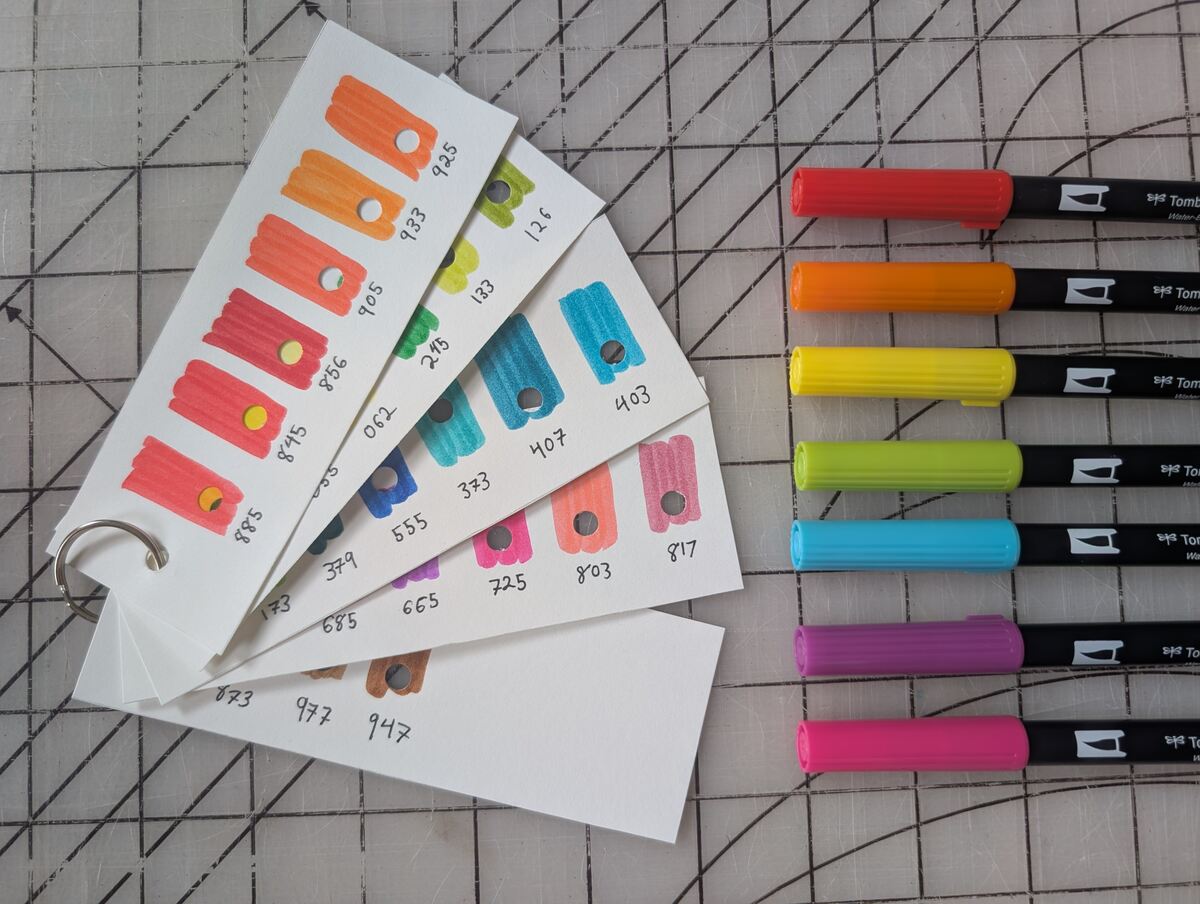
If you've never heard of them, let me introduce you to marker swatch cards. A project you can DIY in minutes to help you choose and match colors when creating.
I can't remember where I first heard about making swatch cards for your creative tools and I stalled forever making them, but once I did, I wished I'd done it sooner!
My only set of swatch cards currently are for my Tombow Dual Brush Pens. (If you've never tried these, I highly recommend! They come in so many beautiful colors!) I would like to do a set for my Gelly Roll pens too as I have so many of those! You can use this method to swatch any kind of creative tool you'd like though! Colored pencils, paint, ink, the list goes on!
You will need:
- The markers or other tool you'd like to swatch
- Cardstock paper
- A whole punch
- A key ring or something to attach the cards together with
- Scissors
- A pen
- *Optional, a laminator
Let's begin!
First, cut rectangles of whatever size you'd like out of your cardstock. Mine were 2" x 5.5".
Then you can begin swatching! I did mine by colors so all the reds were in one place, all the greens, all the pinks, etc. Start by swatching the color and make sure to write the number or color name below it when you're done. I was able to fit six swatches on each one of my cards.
Optional Step: I chose not to do this, but if you want to make your cards last a little longer, laminate them and cut them out before the next step.
Then punch holes in each of the colors. This is so you can put the card up against something and find the closest match to that color.
I also chose to punch holes in the ends of my cards to attach them together with a key ring.
And you're done! I hope this tool helps you!
Happy crafting!